
This work was done over the weekends of Dec 3-4 and Dec 10-11.
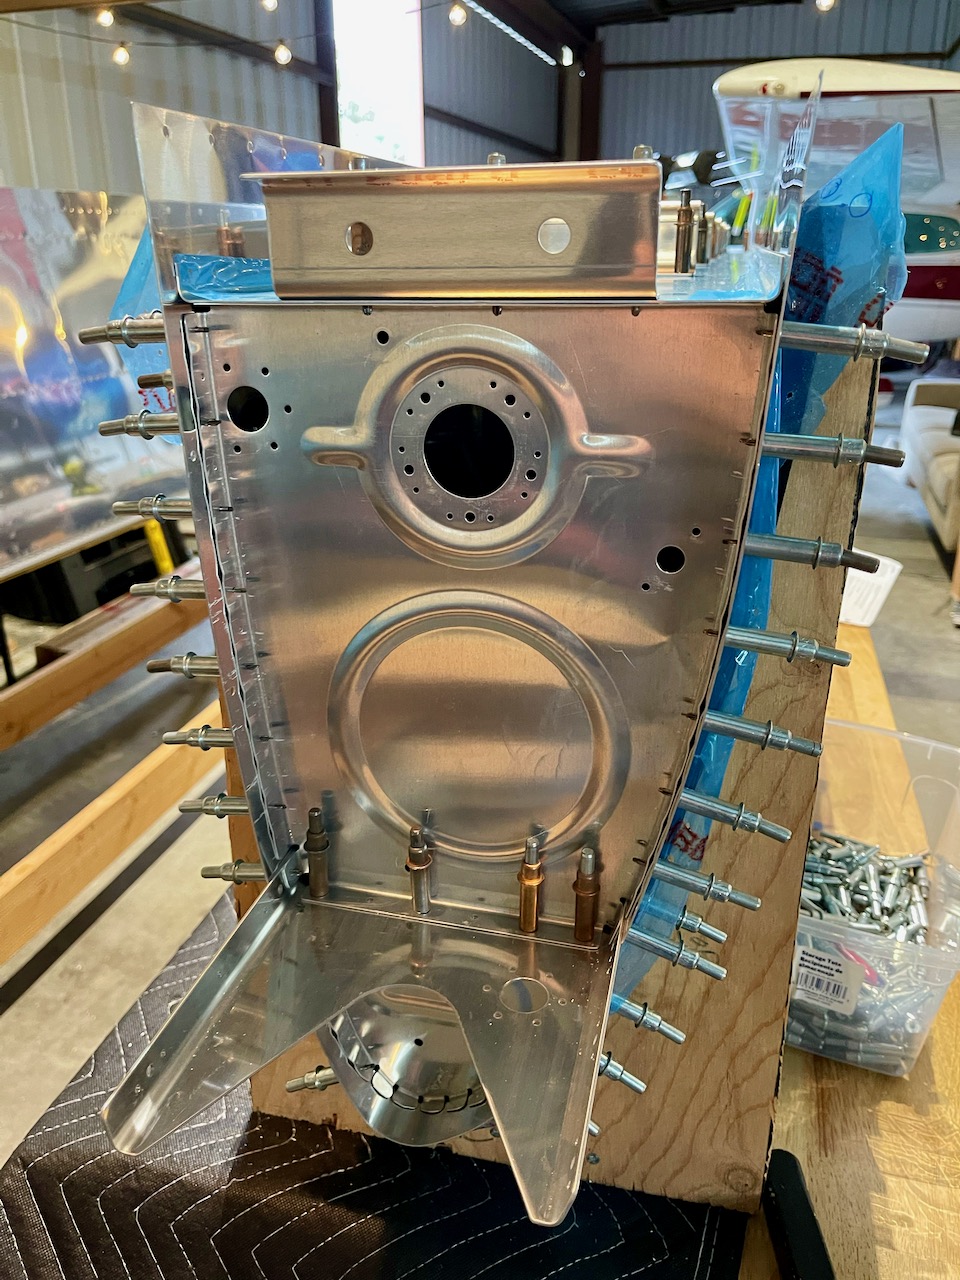
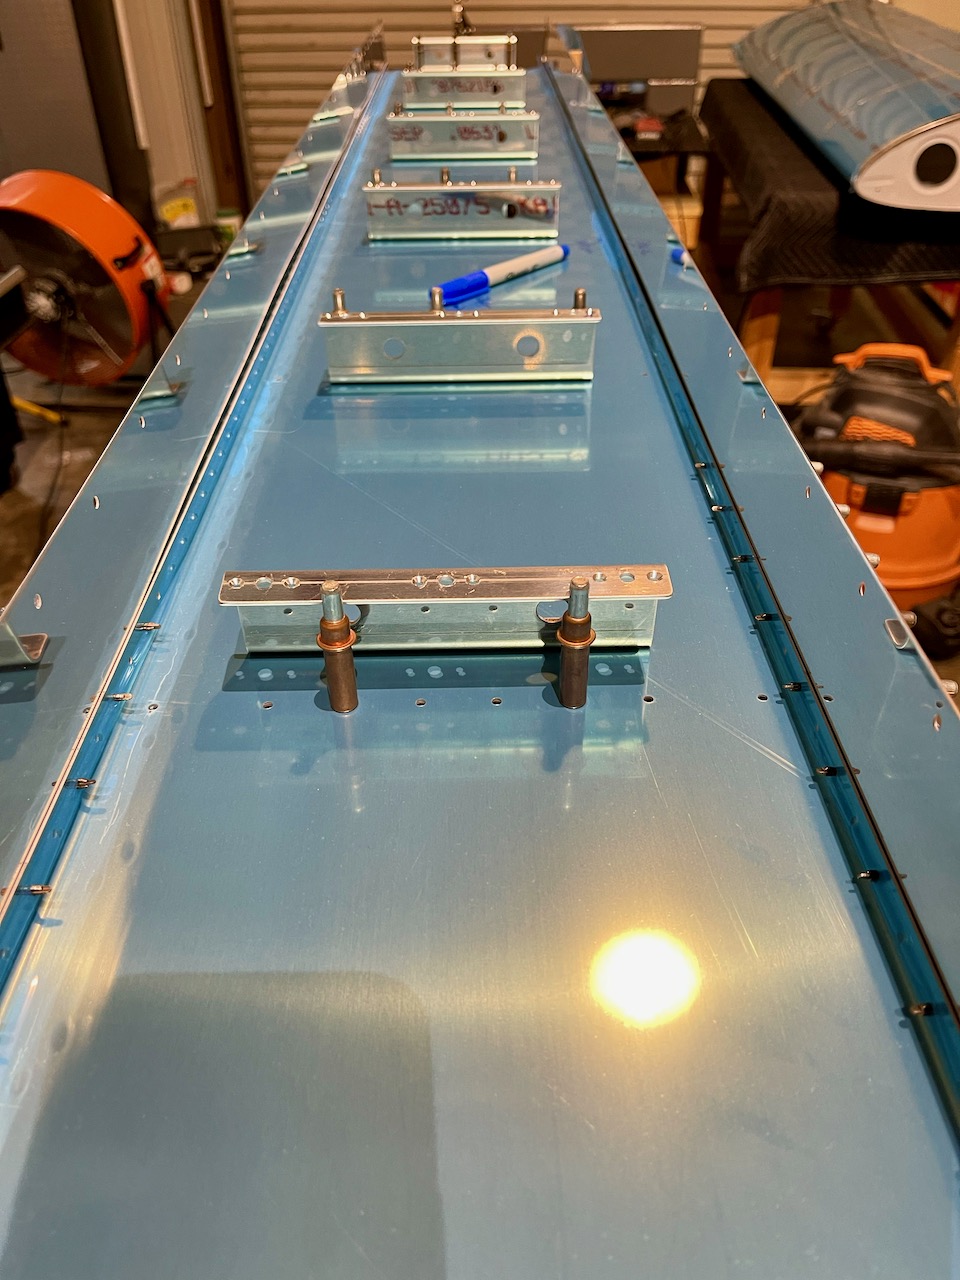
First, lots of deburring. Deburring of all the tank attach “Z” brackets for both tanks. Then all the rib edges (for both tanks as well).
Then it was putting all the pieces together with clecos. Even though this is primarily a “final sized” kit (no final drilling required for the most part), it was still necessary to do an initial assembly. This is because the ribs had to be fluted and even though clecos can fit in, the holes are not precisely aligned enough to fit a rivet through, so a final drilling is required here. Also the J-stiffener has to be match drilled. Really, it is only the individual tank stiffeners and the top baffle that did not need to be final drilled.
The baffle still had to be installed however… because all the skin holes along the baffle need to be machine countersunk. And the skin alone does not provide enough material to be an effective countersink tool pilot hole. So the baffle was clecoed in place, I ran a drill through just for good measure (though there was perfect alignment and sizing here for the most part), and machine countersunk these holes (leaving every 10th alone per the plans, which will be countersunk with final assembly.).


Very interesting & good progress. Wonder if countersinking thin sheets creats “knife edges”, as opposed to dimpling?,- – – just a thought.
LikeLike