I had a chunk of time to spend in the shop today, and I wanted to dig into something new, as the rudder and vertical stabilizer are currently blocked waiting for backordered parts. I’ve got a bunch of backordered brackets and plates that go on various spars (vertical and horizontal stabilizer, rudder, elevators) that I have to work around and eventually they become blockers.
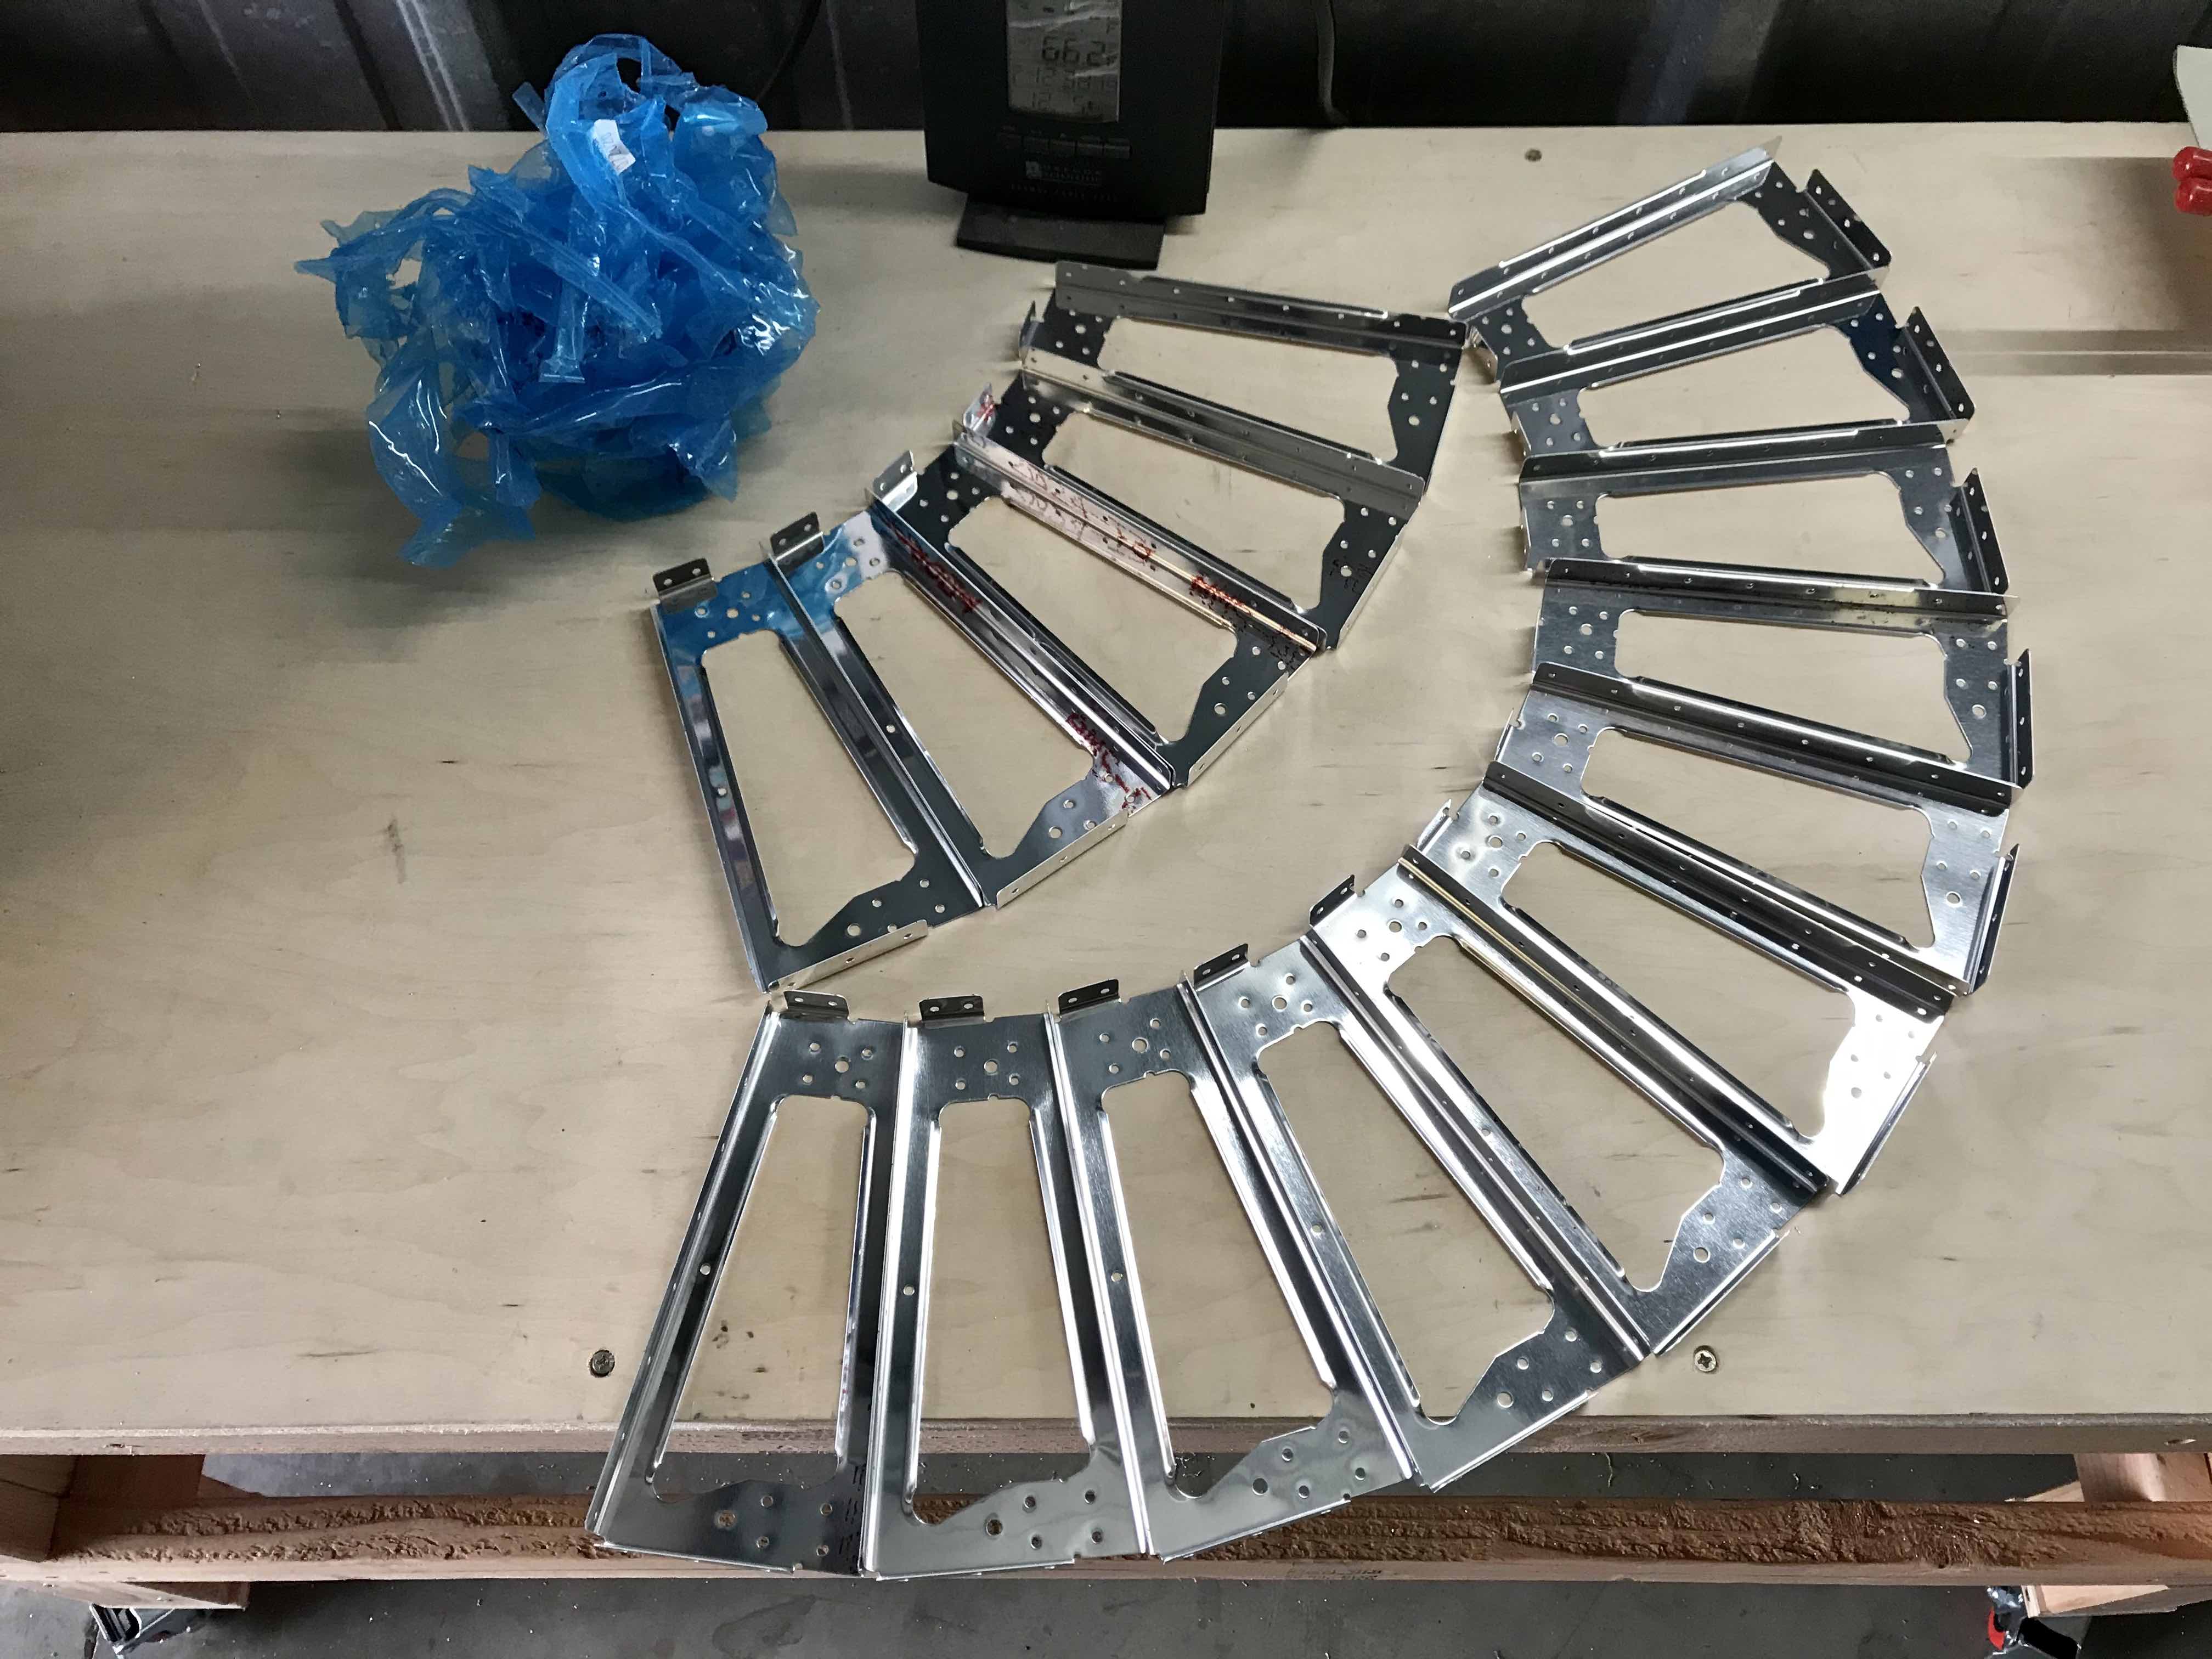
So looking at the plans, I decided to get a start on the elevators, as there was a lot of parts prep. It started by slicing the 16 elevator ribs in two with the band saw, and then deburring everything.
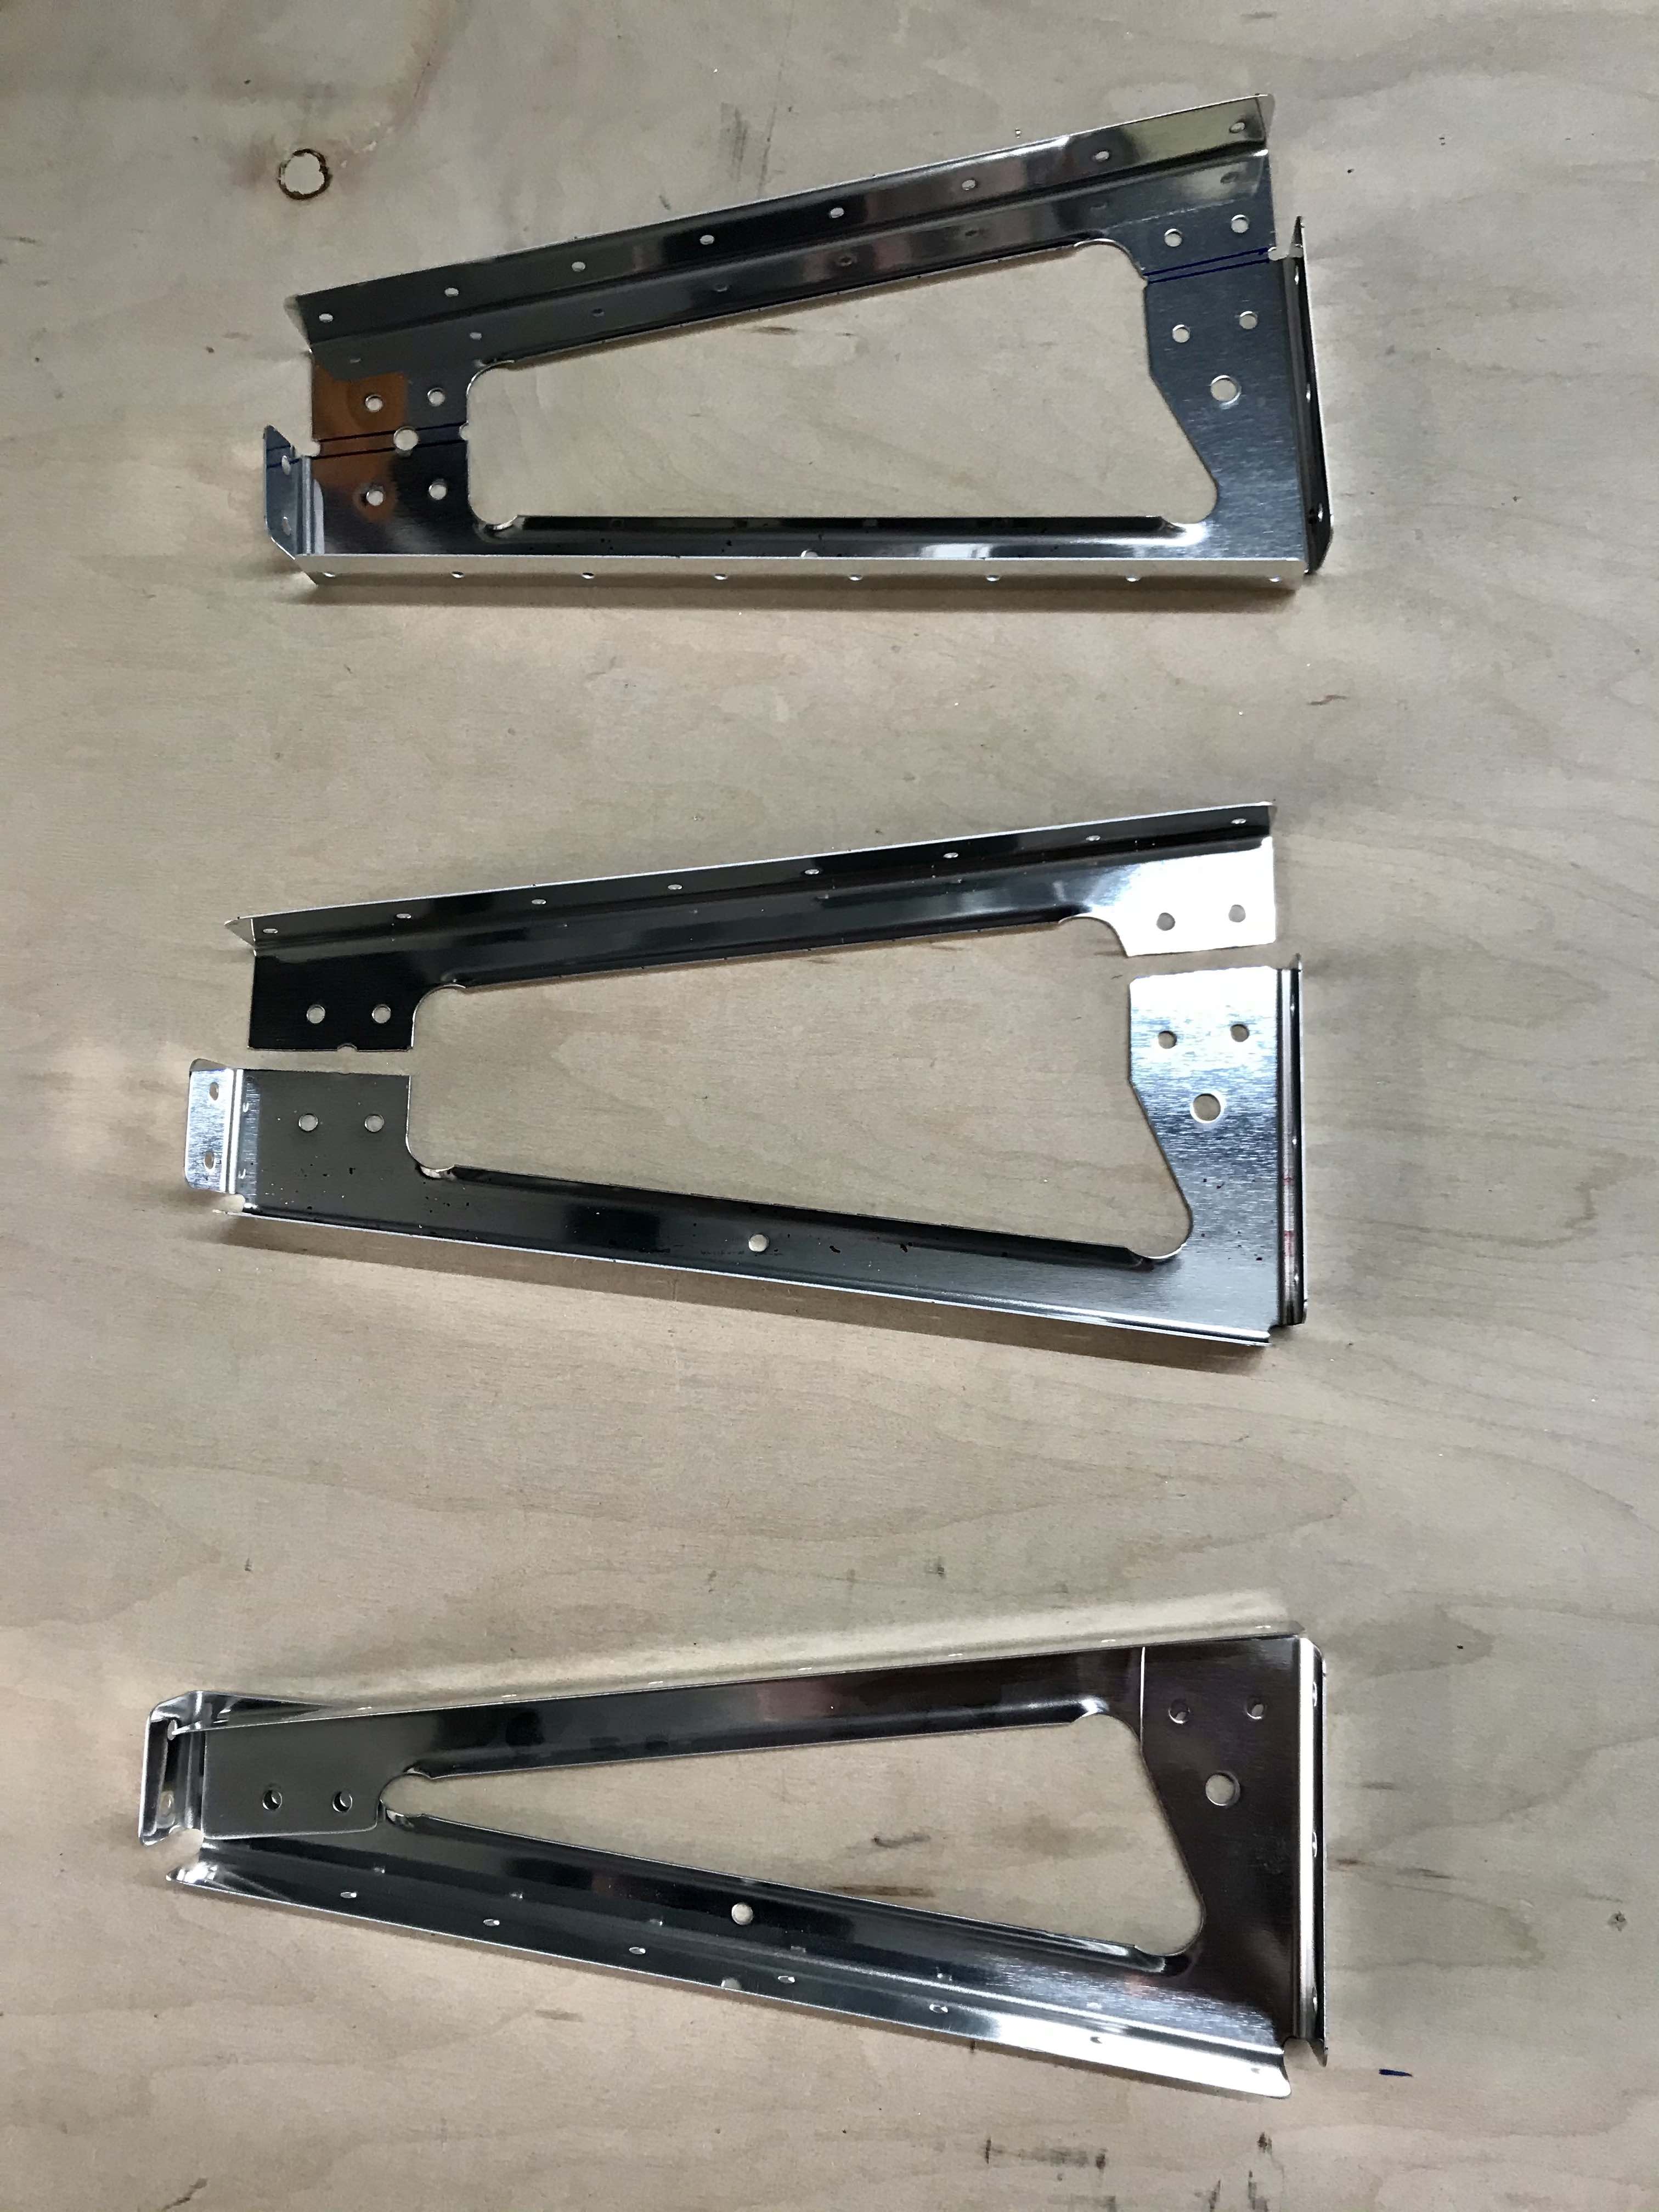
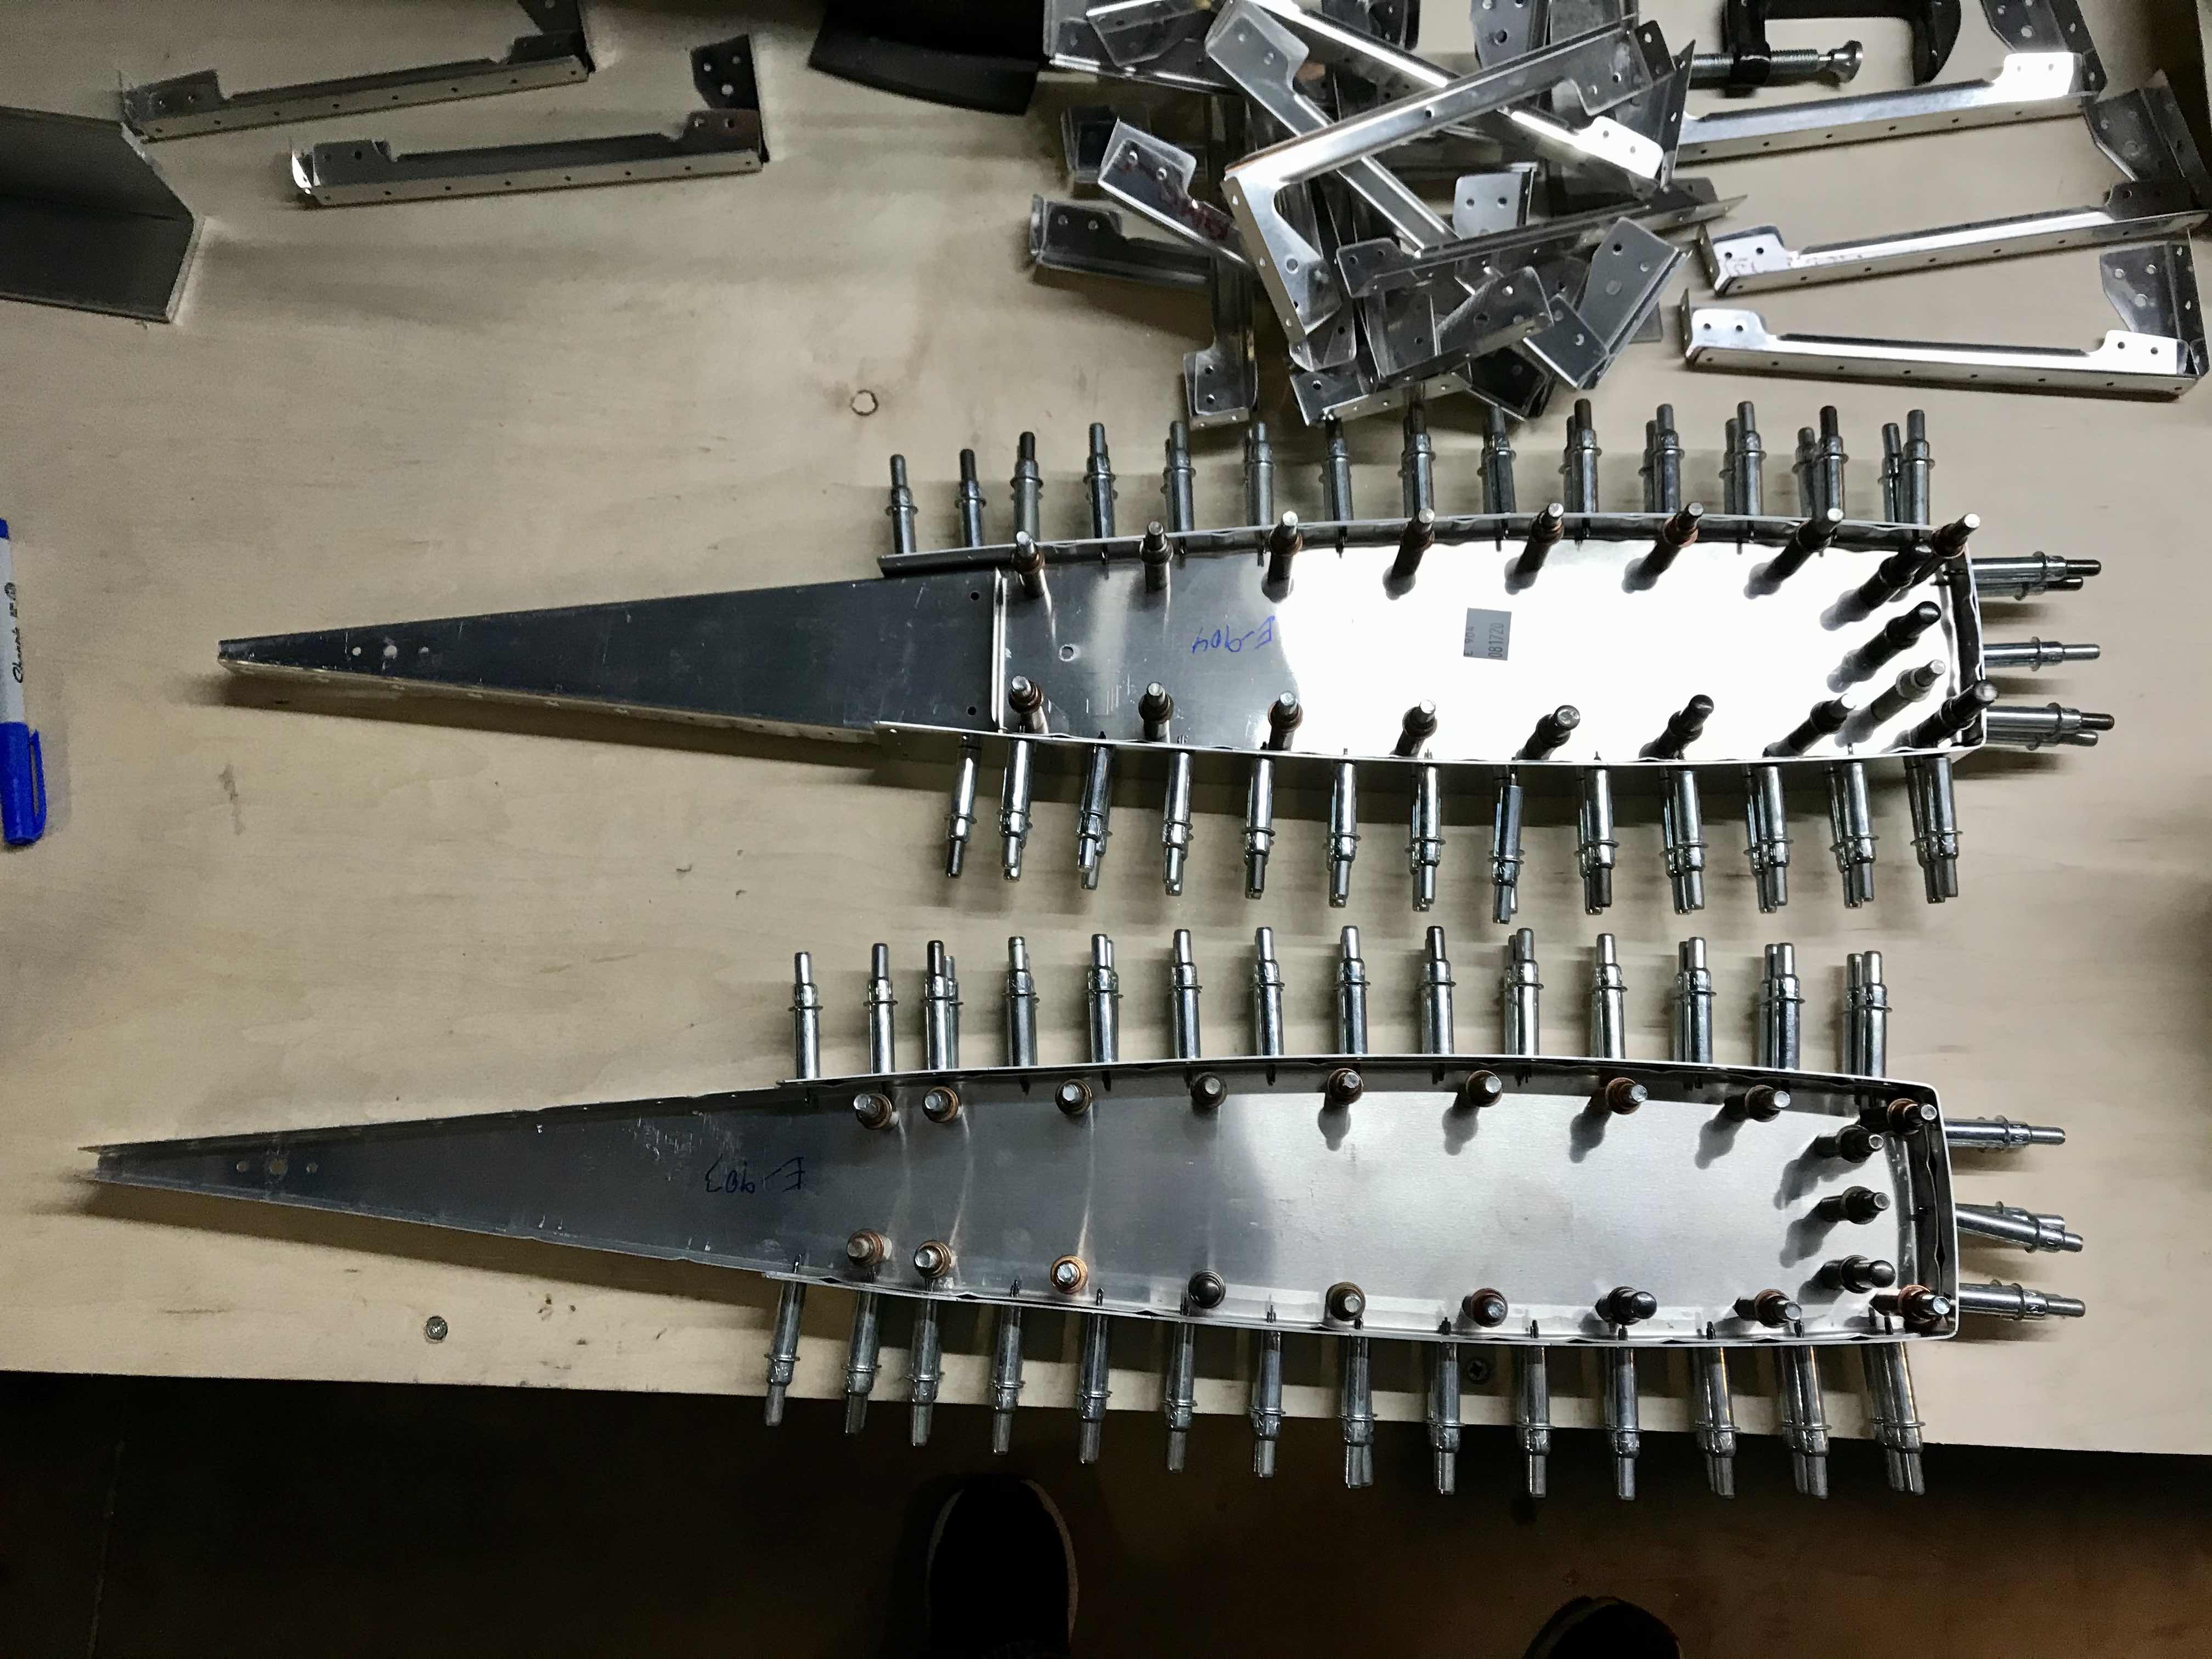
Then I assembled the three pieces of each elevator tips and final drilled them. These particular elevator parts do not benefit from the more advanced tooling of the later kits, these are actually RV-9 parts judging from the part numbers, and they required fluting for straightening. The newer model parts typically have cuts in the flanges that eliminate the need for fluting. No benefit of final size holes on these parts either (except for the thin skin piece), and it is clear from working with these parts how necessary the final drilling step was for these older model parts, as alignment of the holes was a little more finicky than the newer parts.
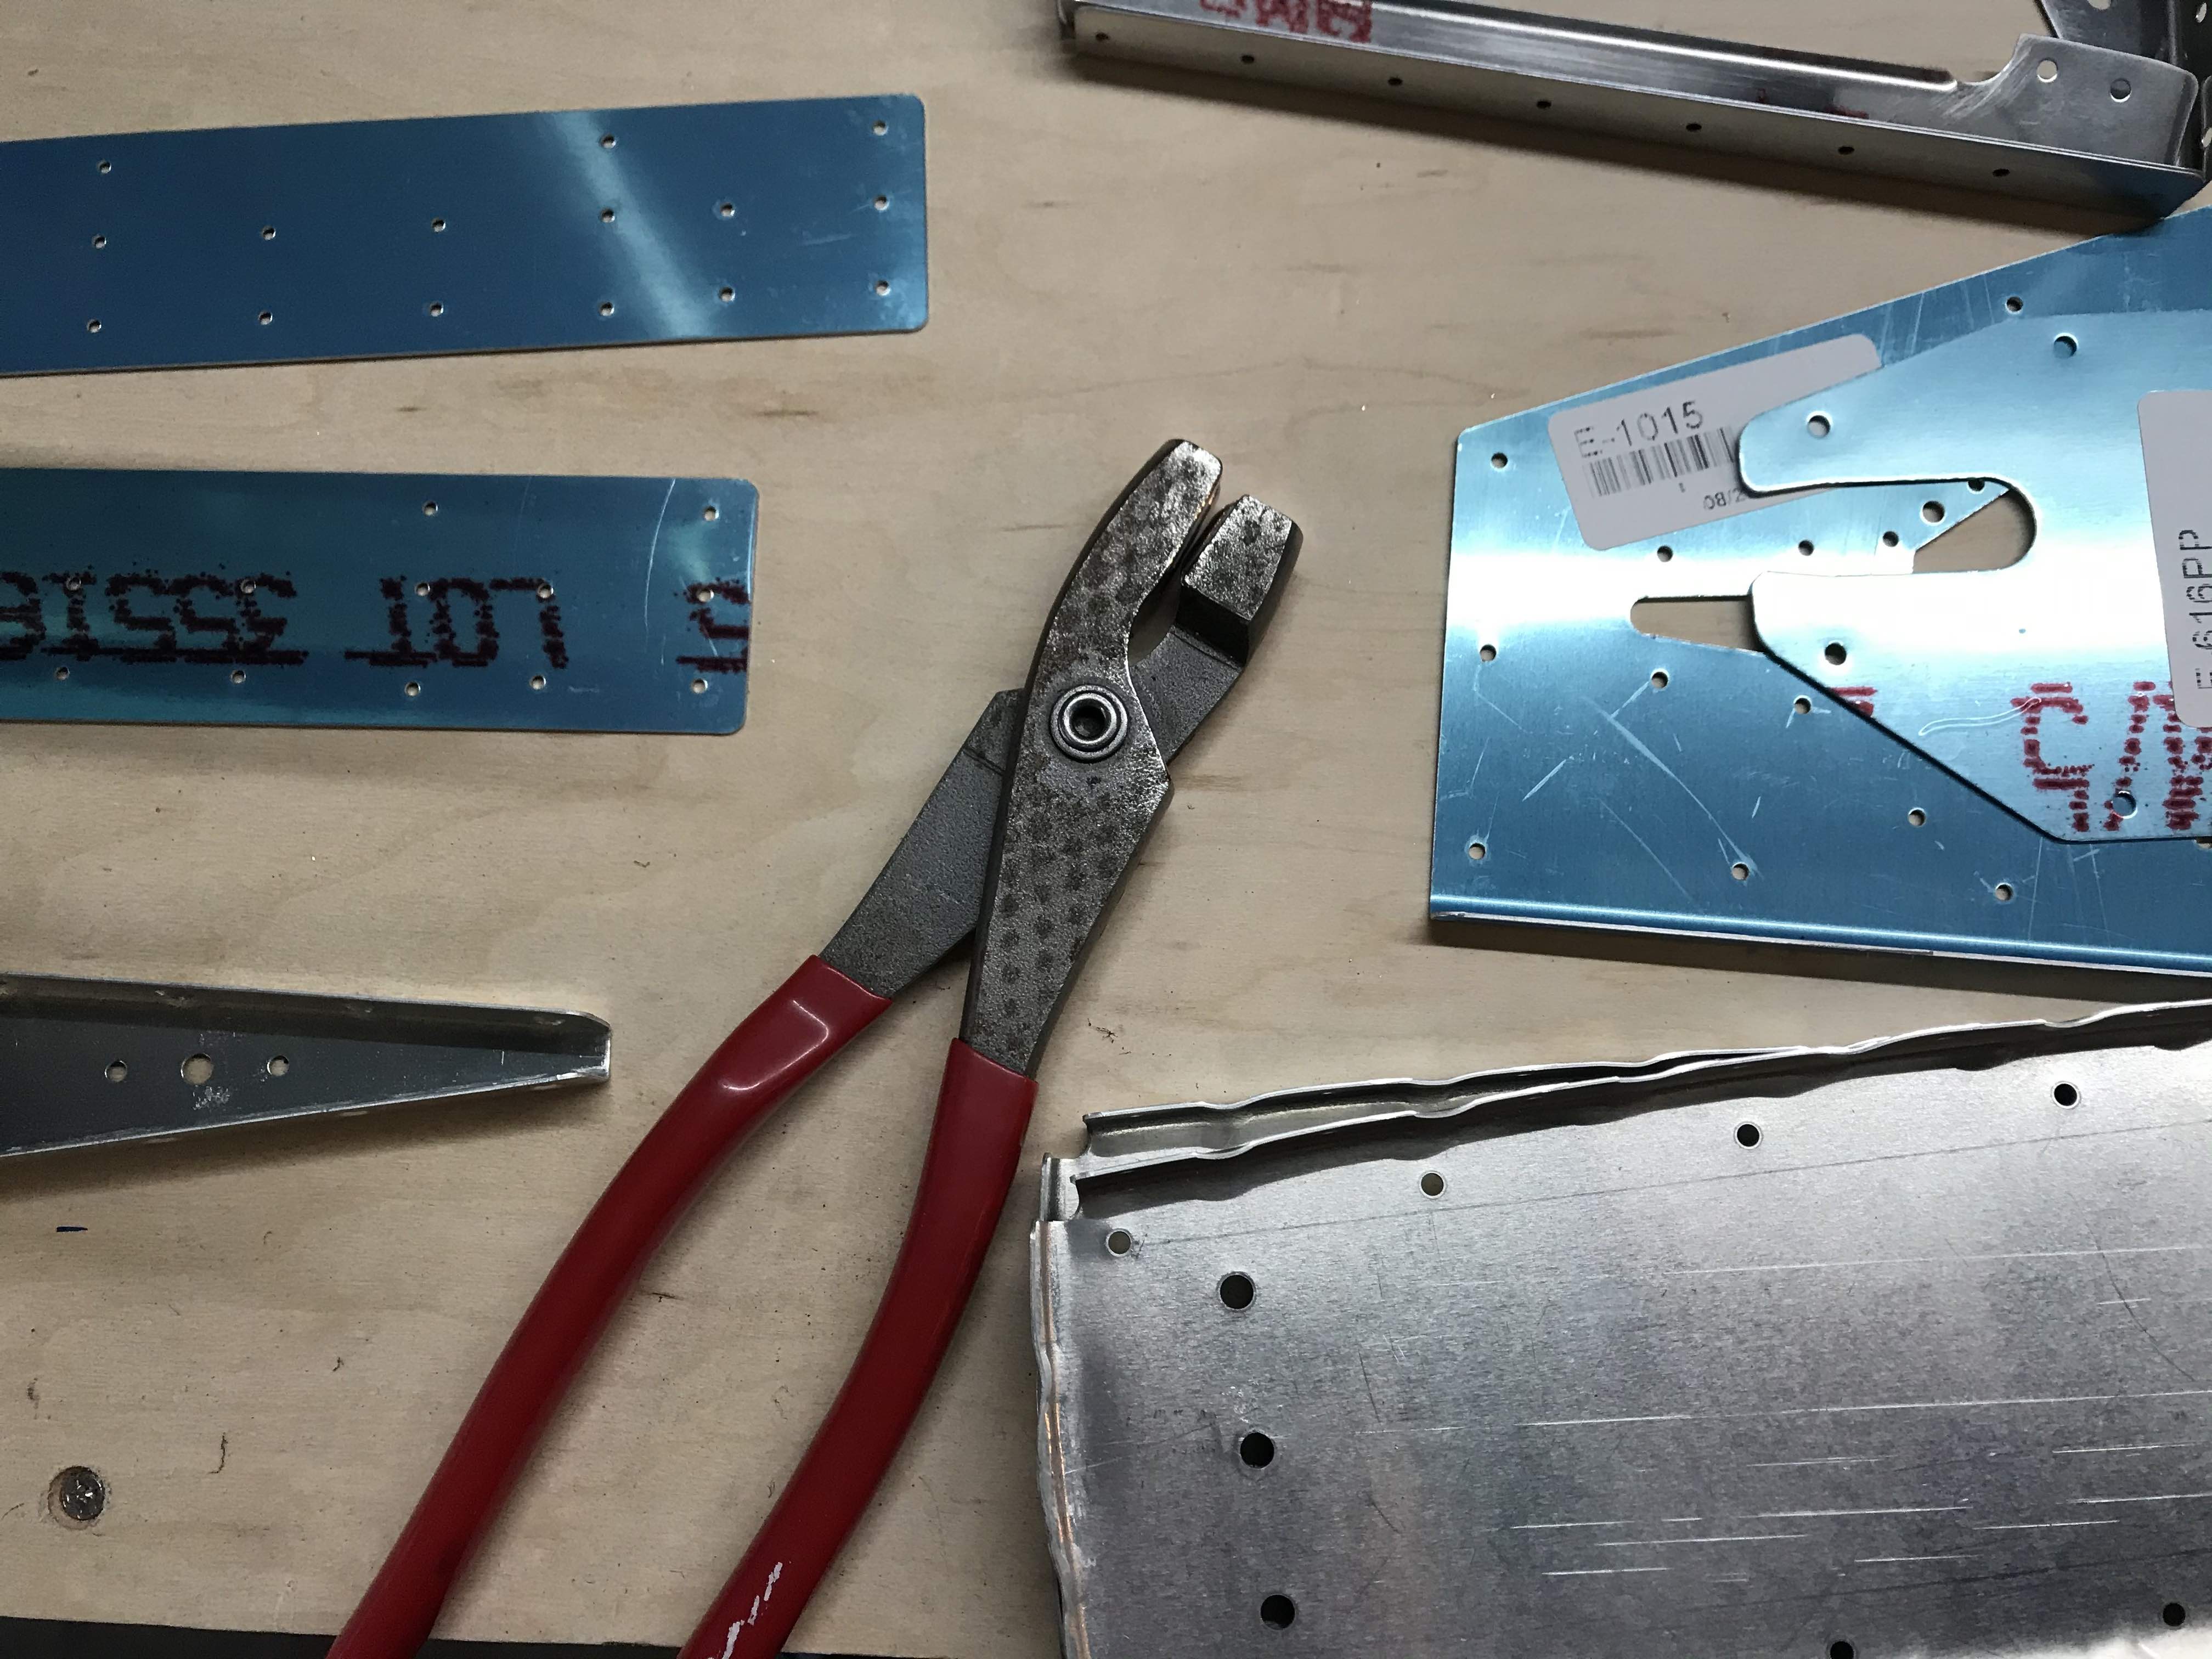
I had trouble finding my fluting pliers. I bought a bunch of second hand tools from a hangar neighbor, and fluting pliers were listed… But I must have stashed them away really good when I first got the tool collection as they were nowhere to be found. Fortunately, another hangar neighbor, Dave (who built an RV-10 himself), was at the airport and had a set he was able to lend to me.
Page 9-2: Steps 1-6.