I decided I wanted to do a nominal level of priming. Not overboard. My plane does not necessarily have to outlast me. I live in a fairly dry climate, and my airplane will be hangared. I currently own a 40 year old Cessna 172 XP with no internal priming whatsoever. It has very minimal skin surface corrosion (and is easily halted with a corrosion inhibiter like ACF-50 or Corrosion-X or similar after the fact).
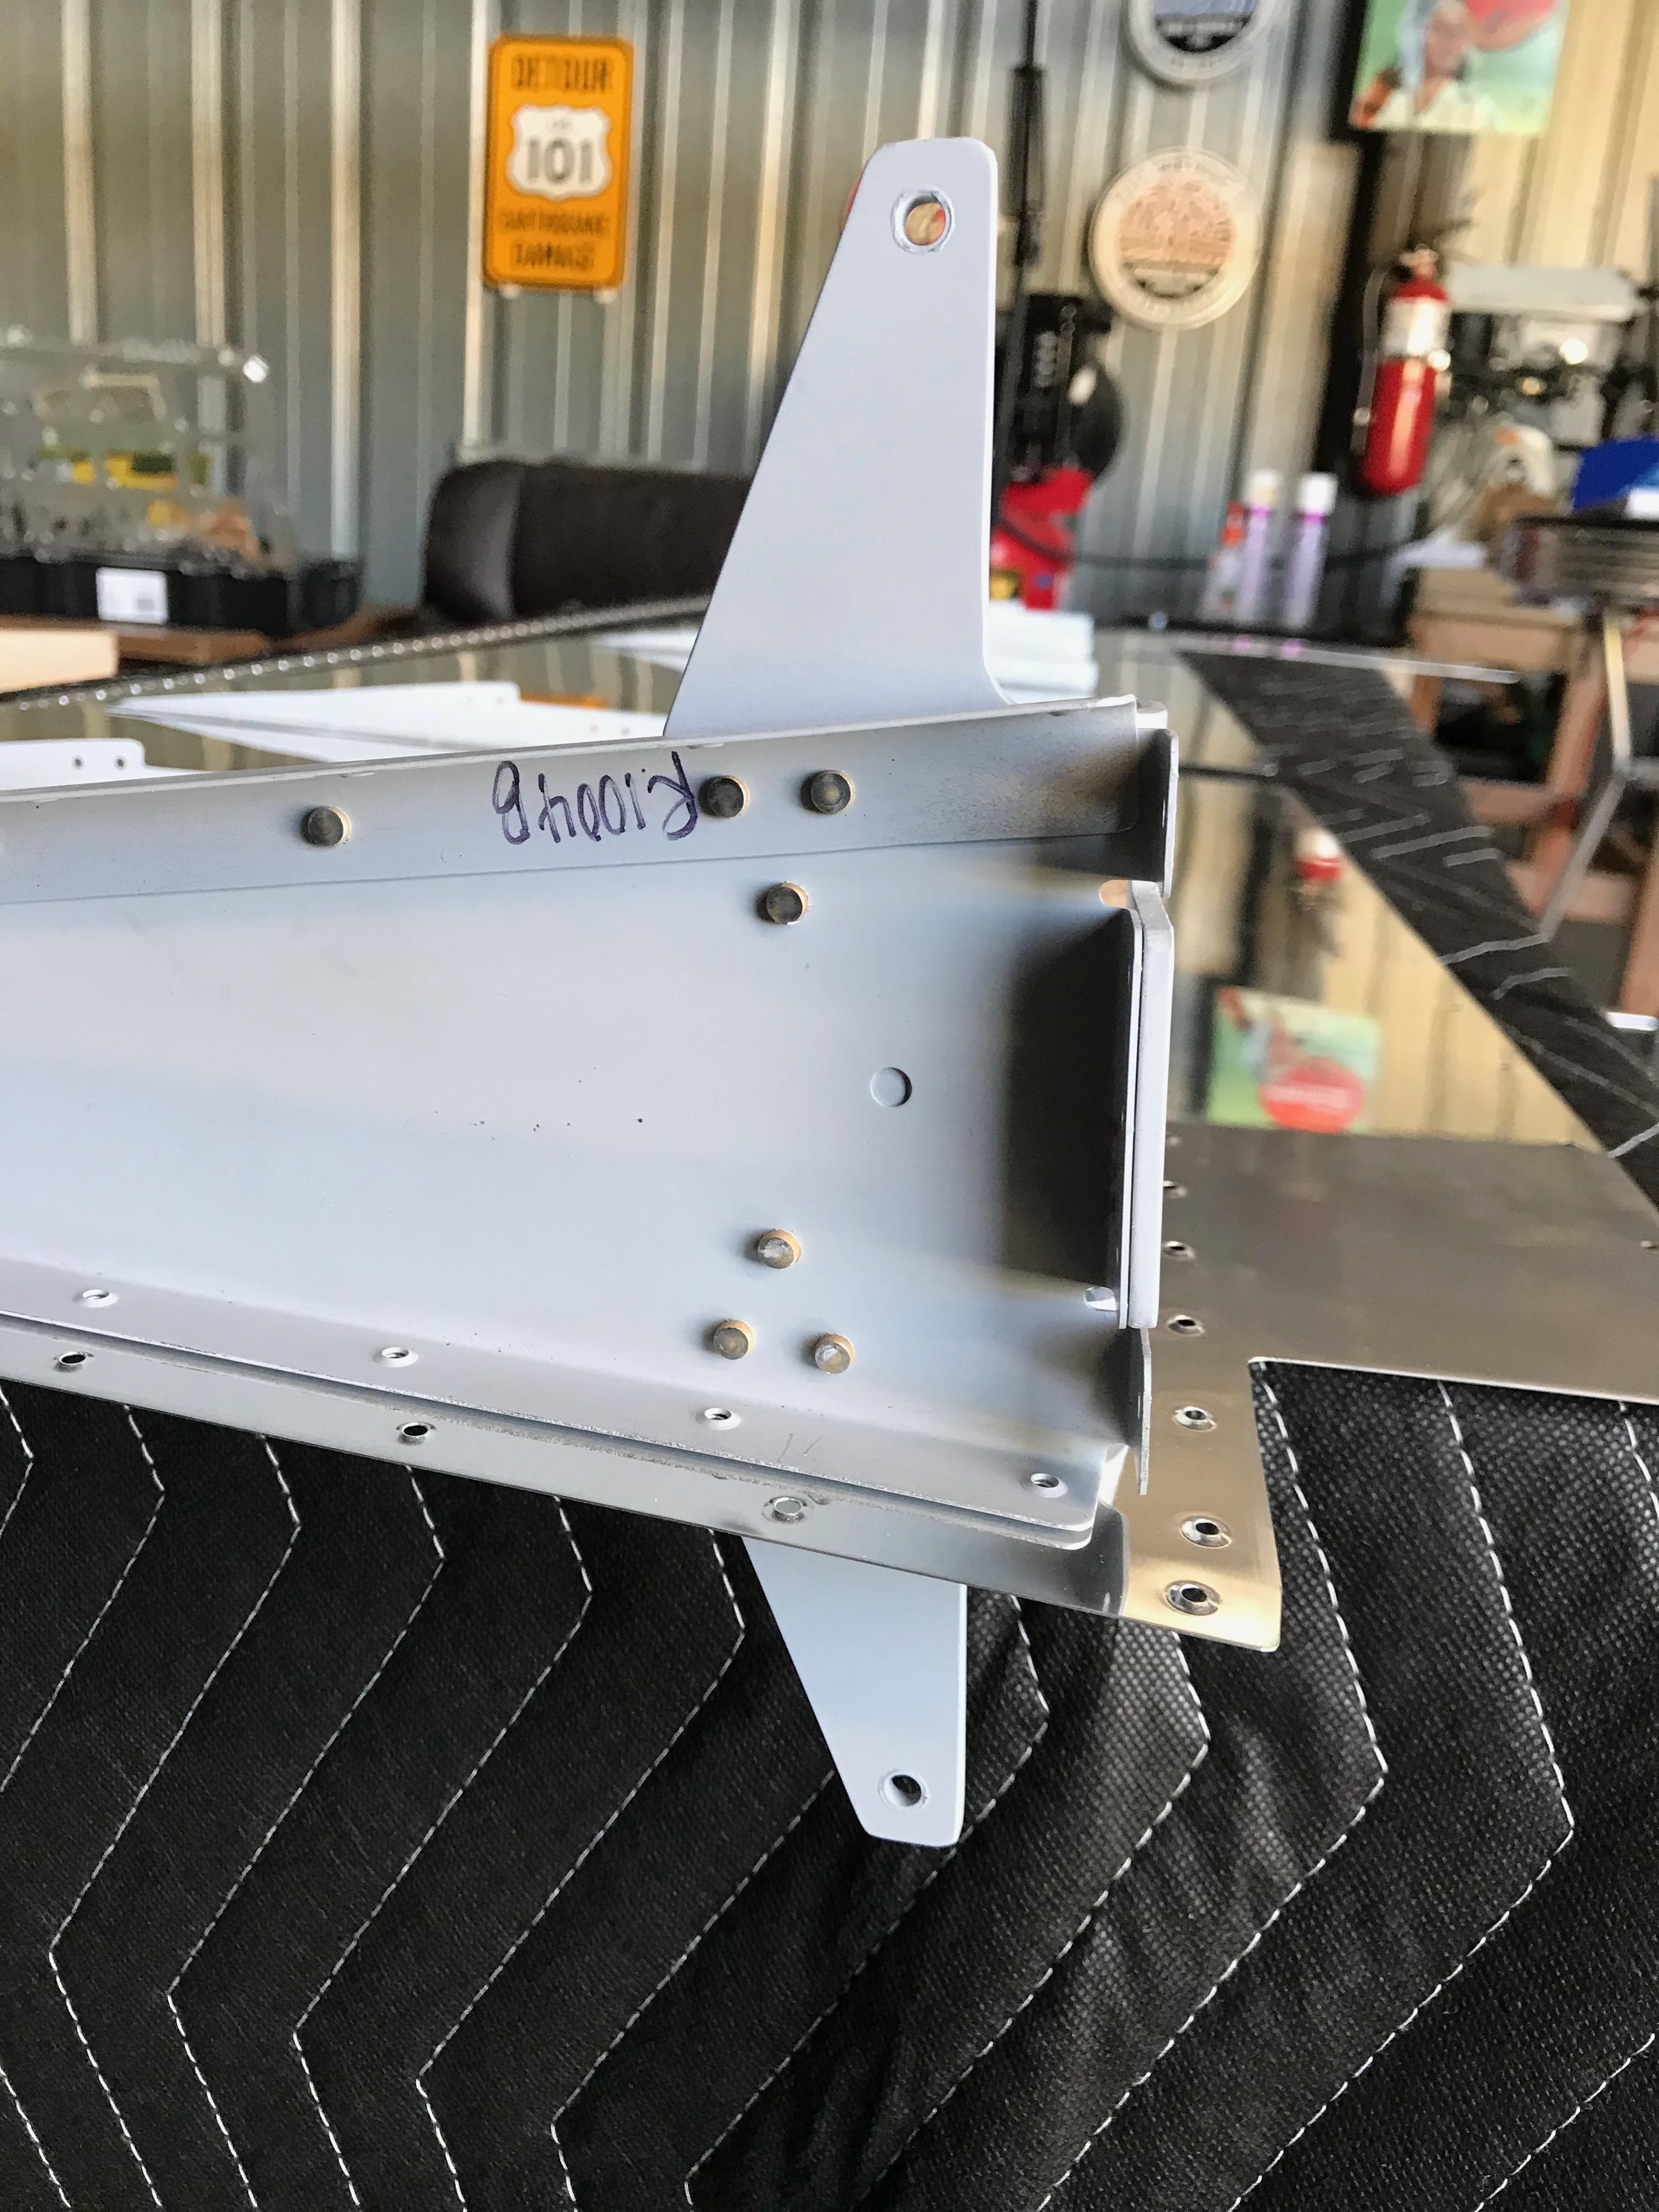
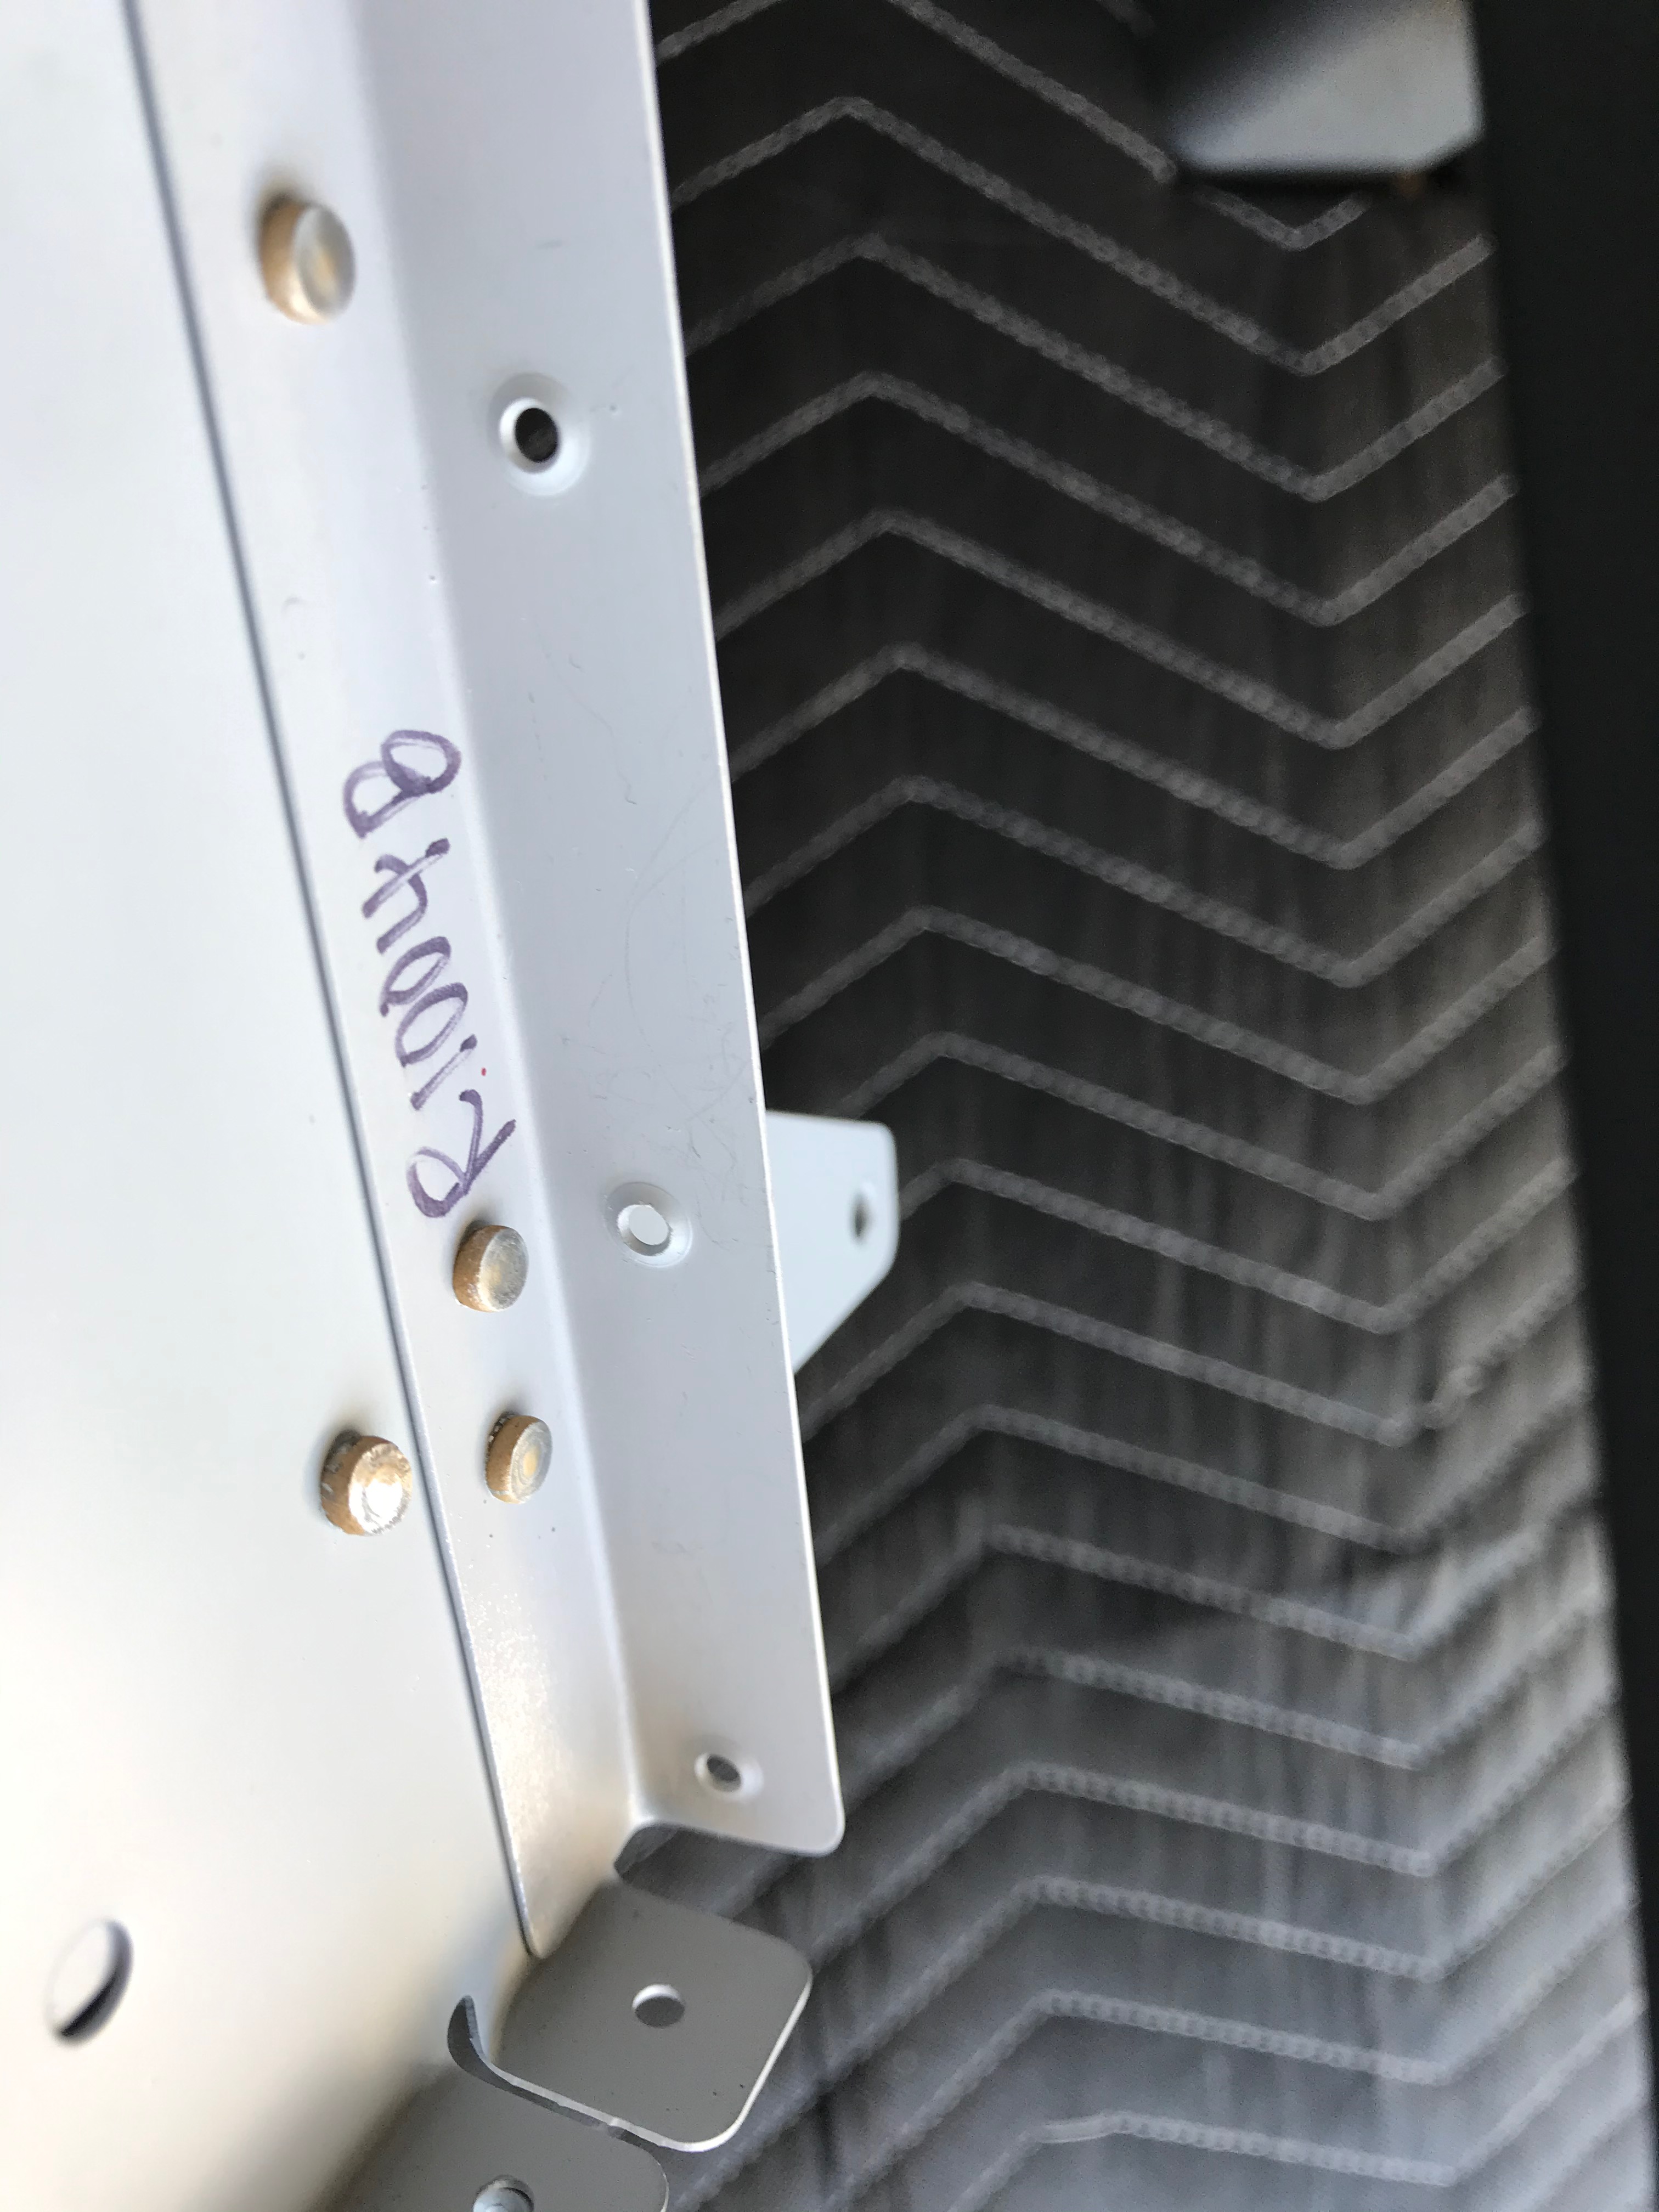
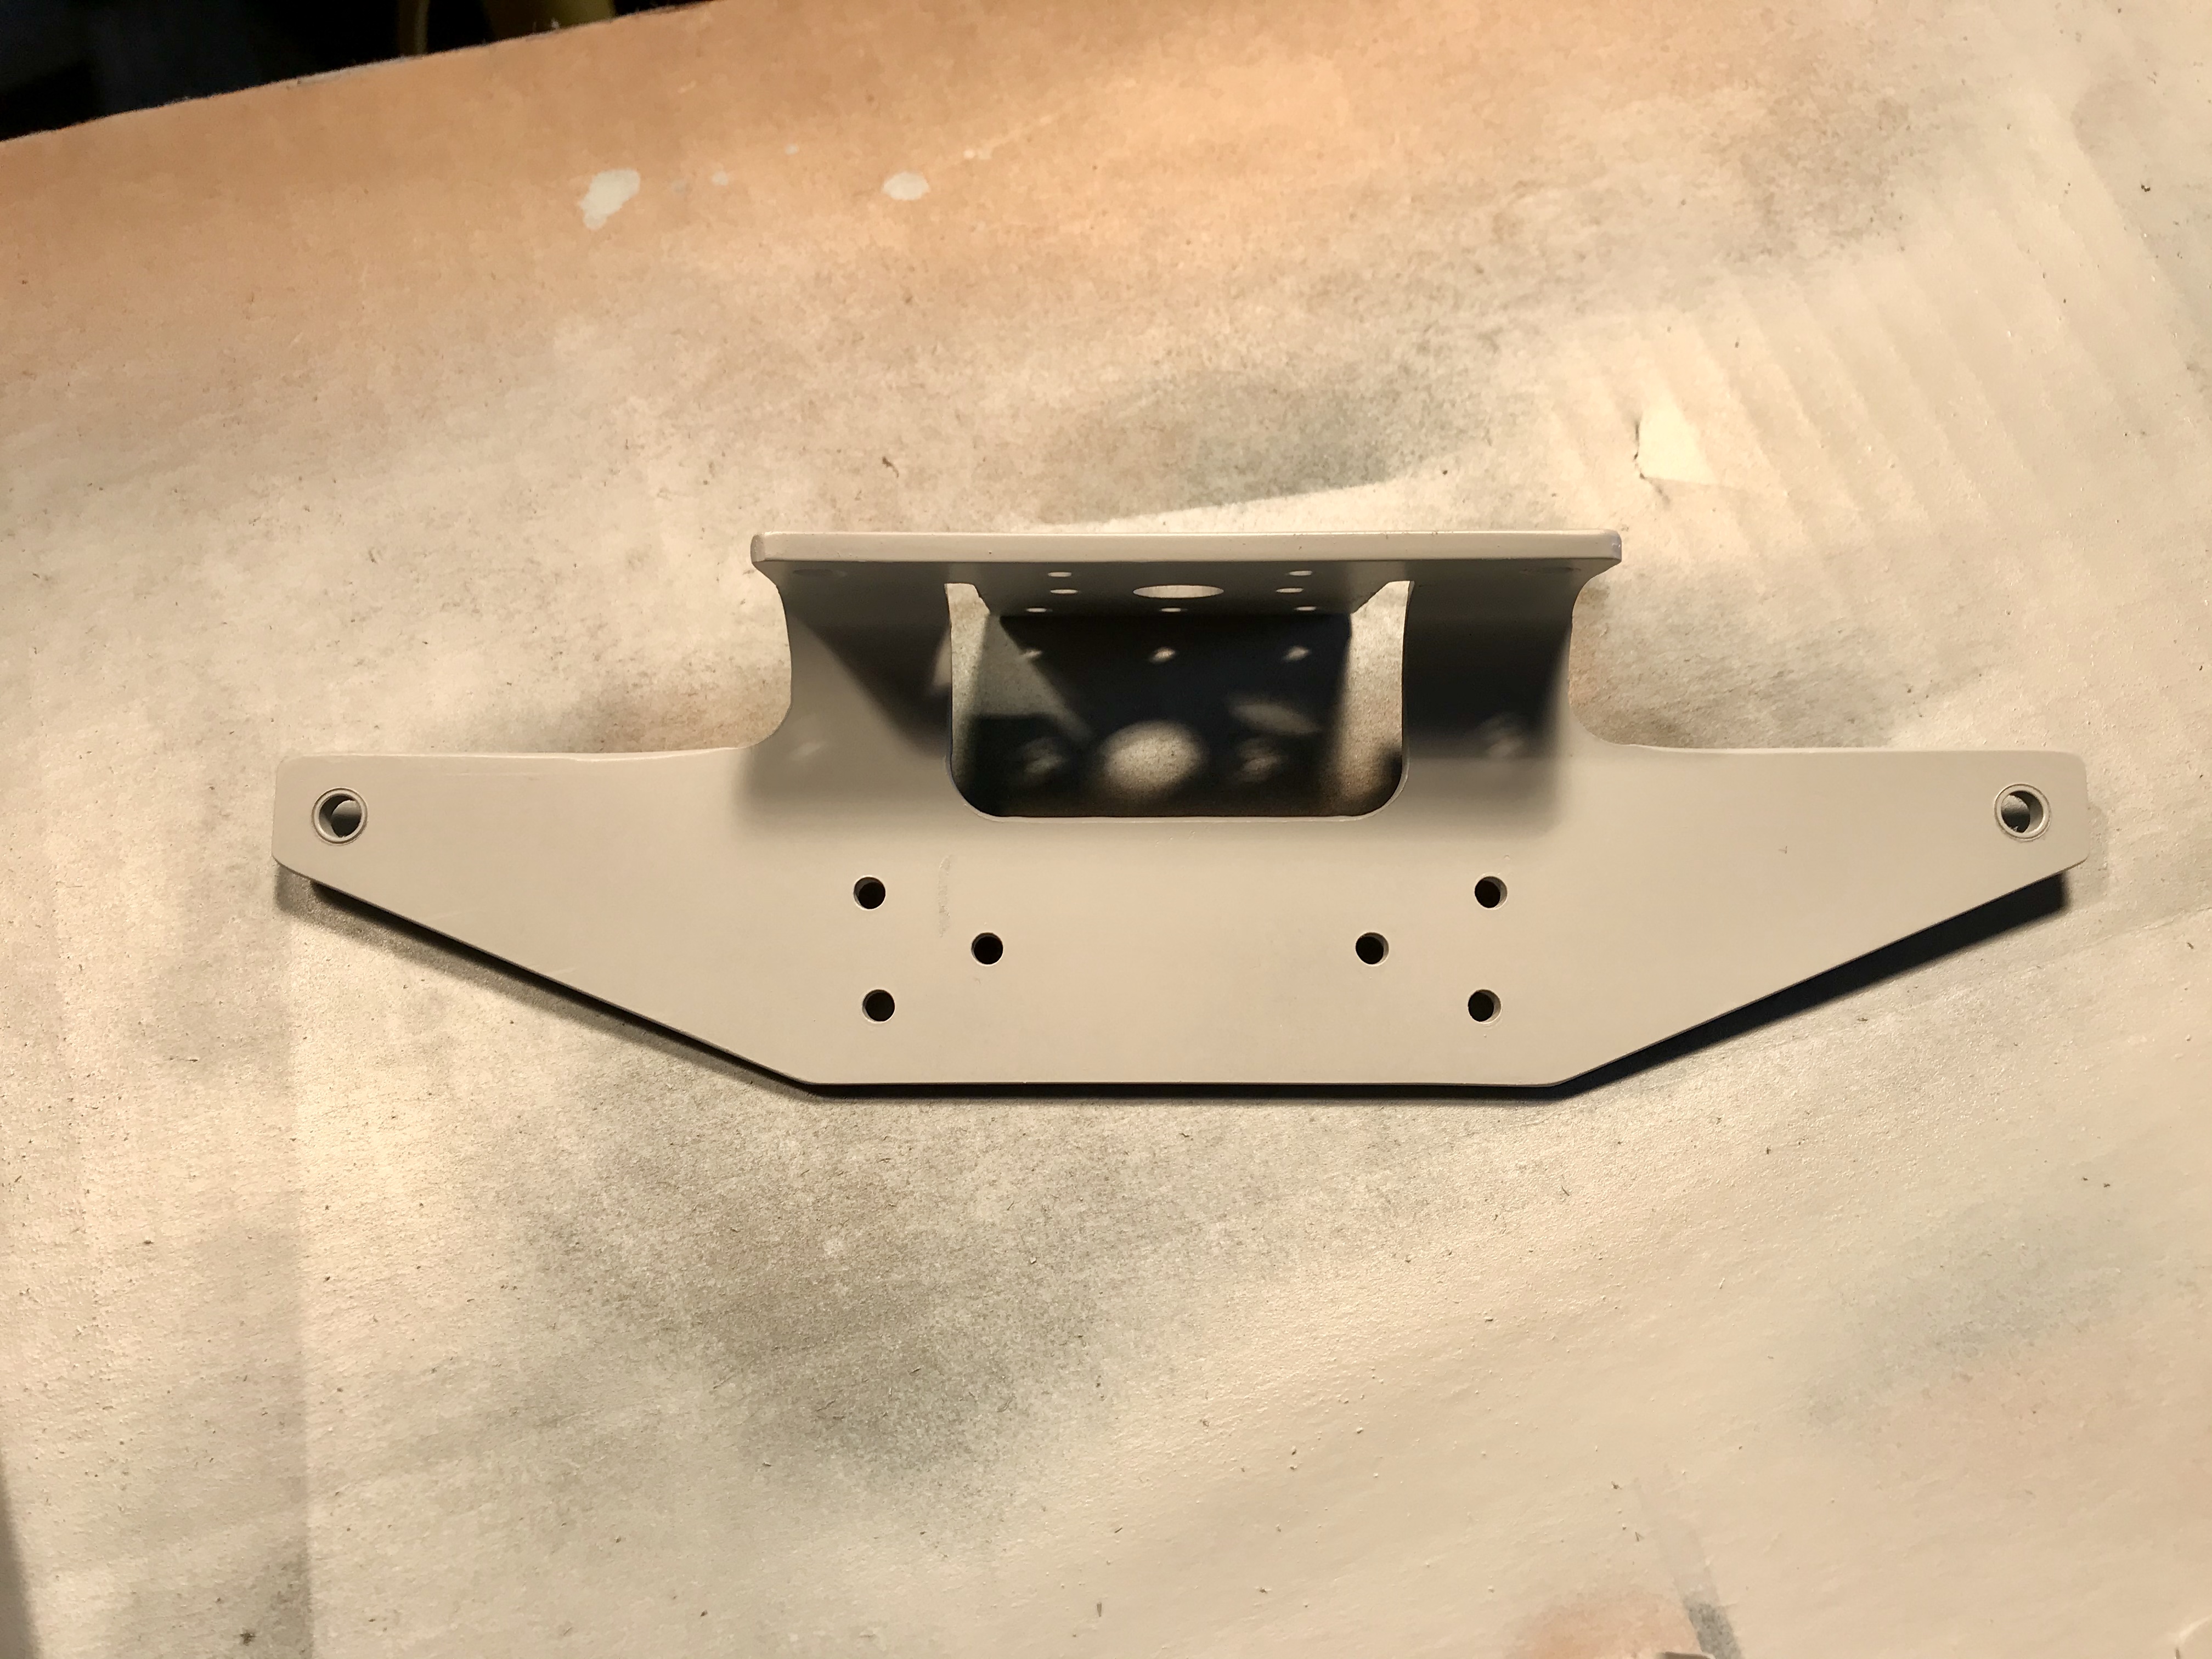
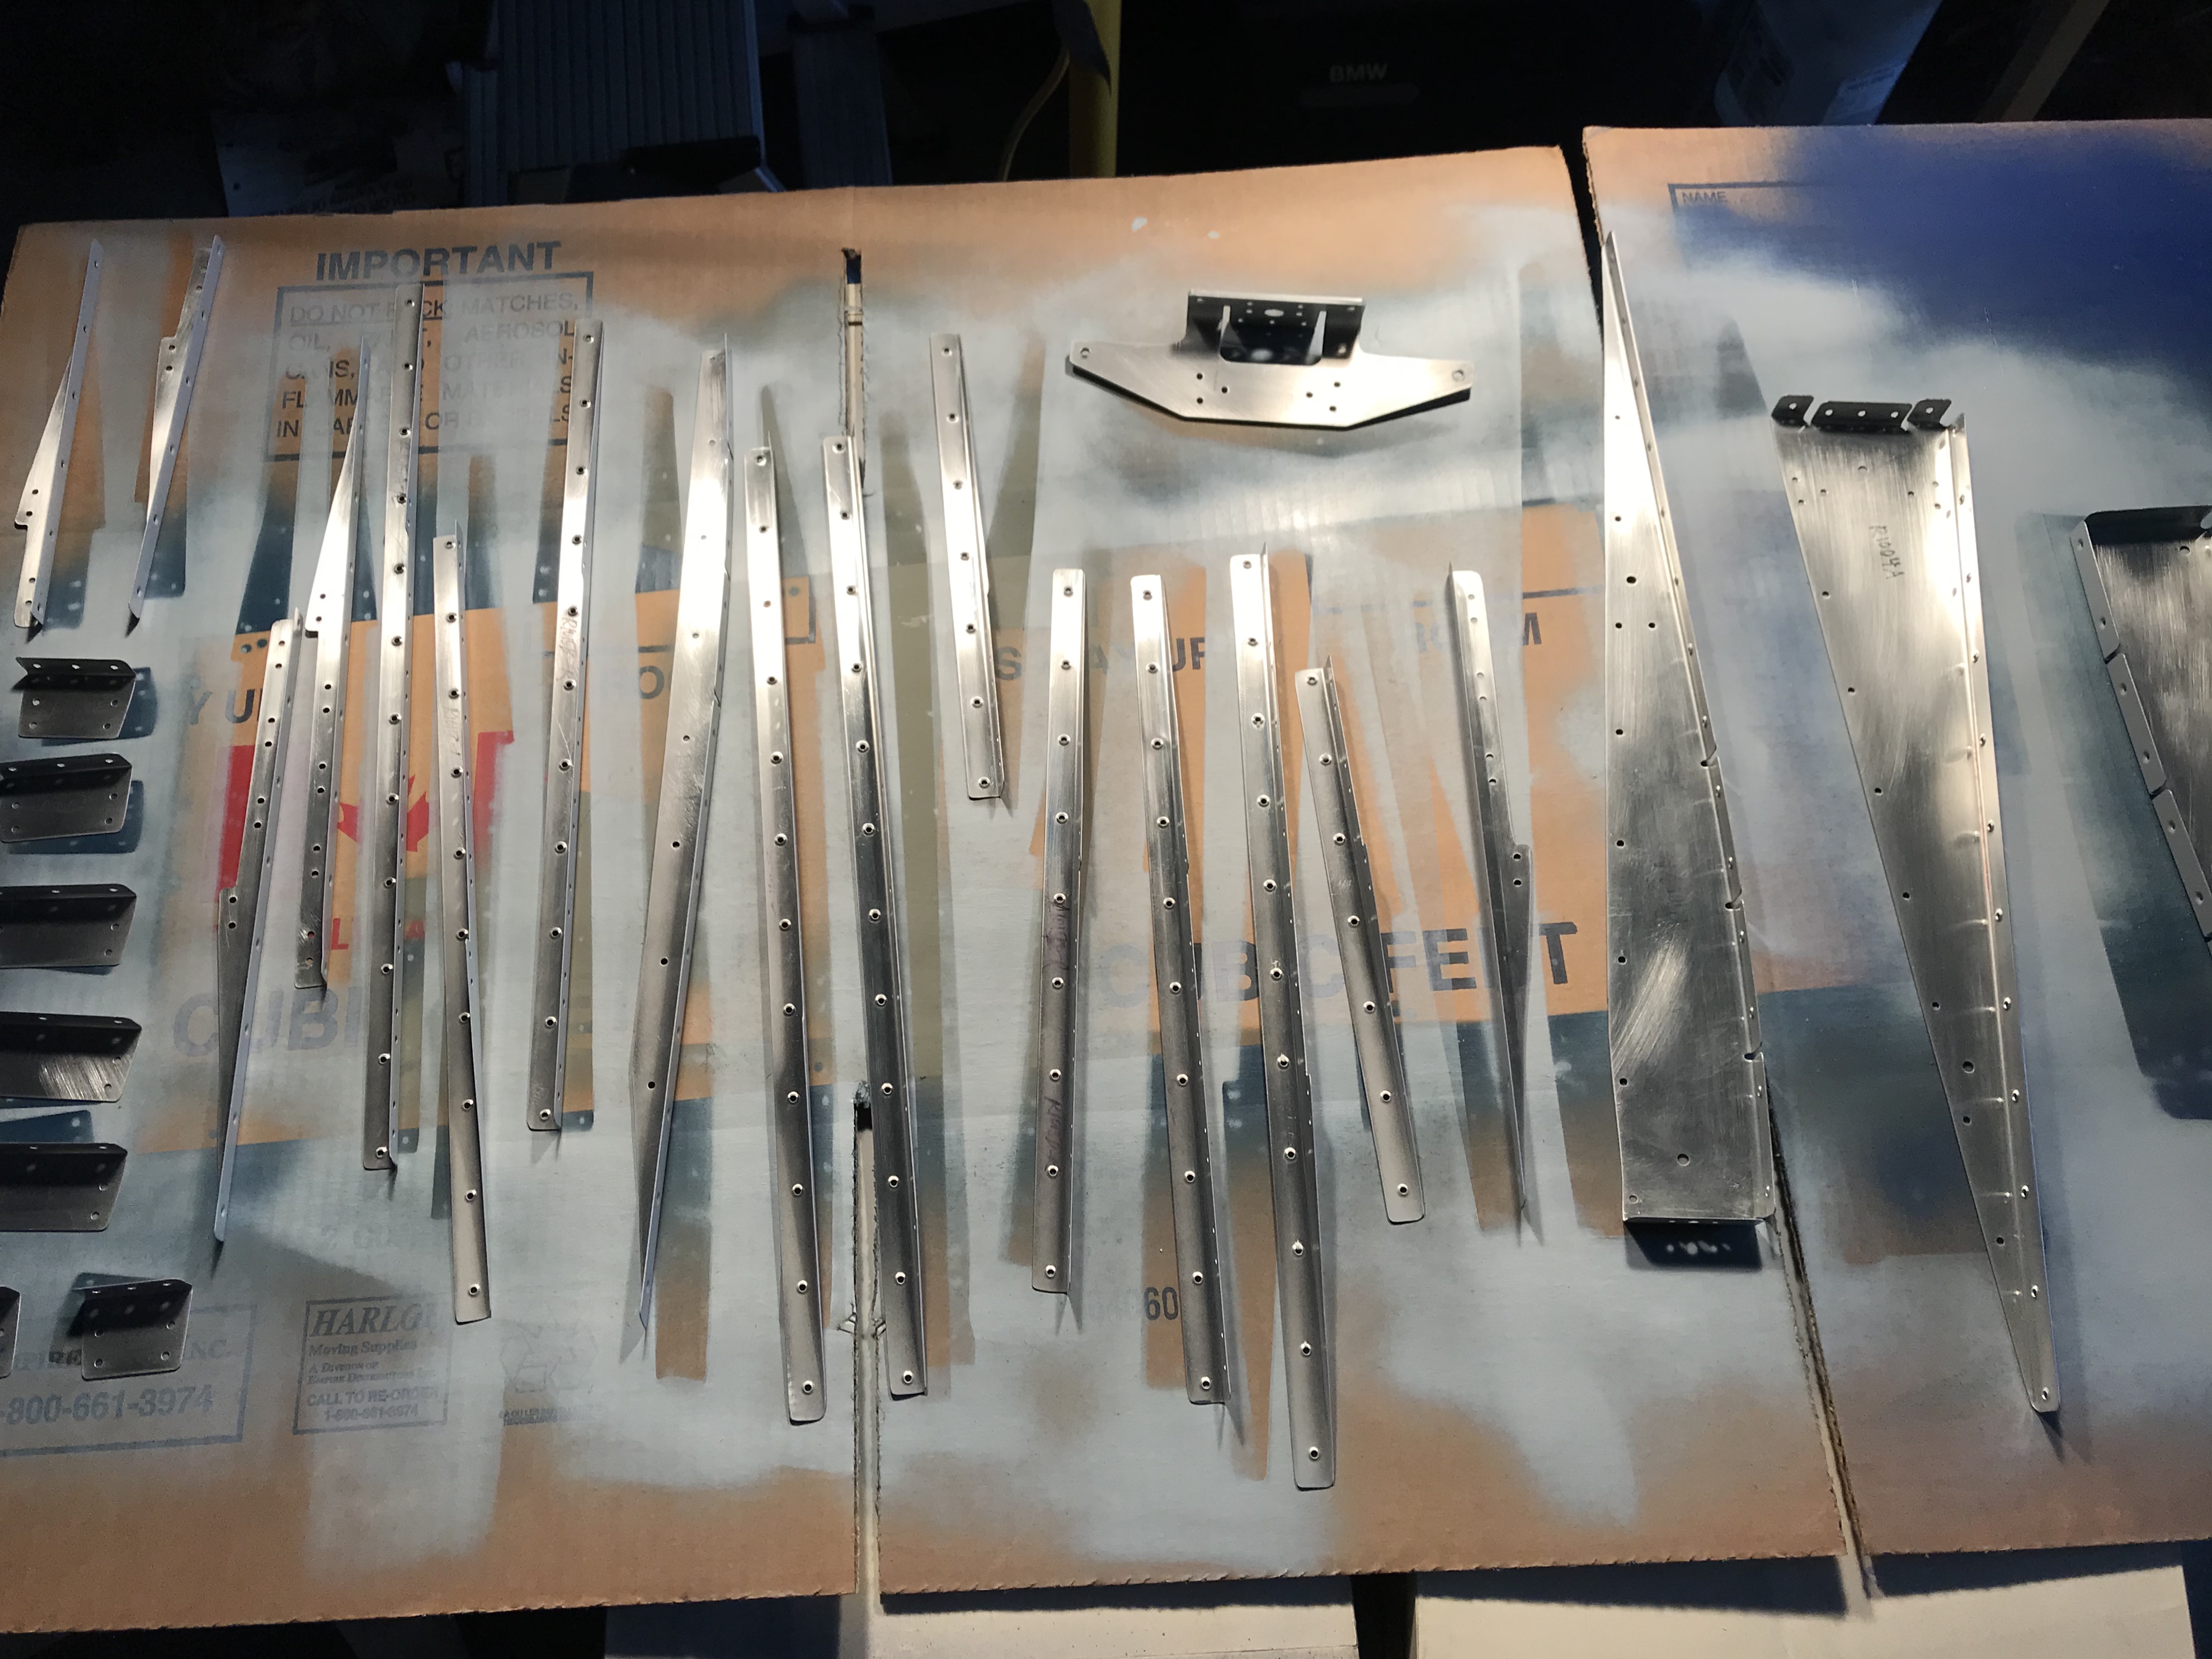
The alclad aluminum skins that are used in Van’s aircraft have a thin layer of pure aluminum on the surfaces. As long as it doesn’t get too scratched or damaged, it will have a good degree of corrosion resistance in atmosphere. I’m choosing to prime internal structures, e.g. ribs, stiffeners, stringers and the like with rattle-can primer (as well as any other parts Van’s recommends). I may also spray the rivet lines in the inside surfaces of the skins. But not the entire skins. The reason I want to spray the internal parts is that they tend to get a little more scratched and worn during the deburring process, more likely to expose the underlying alloy. This give a little more protection without a significant time investment.
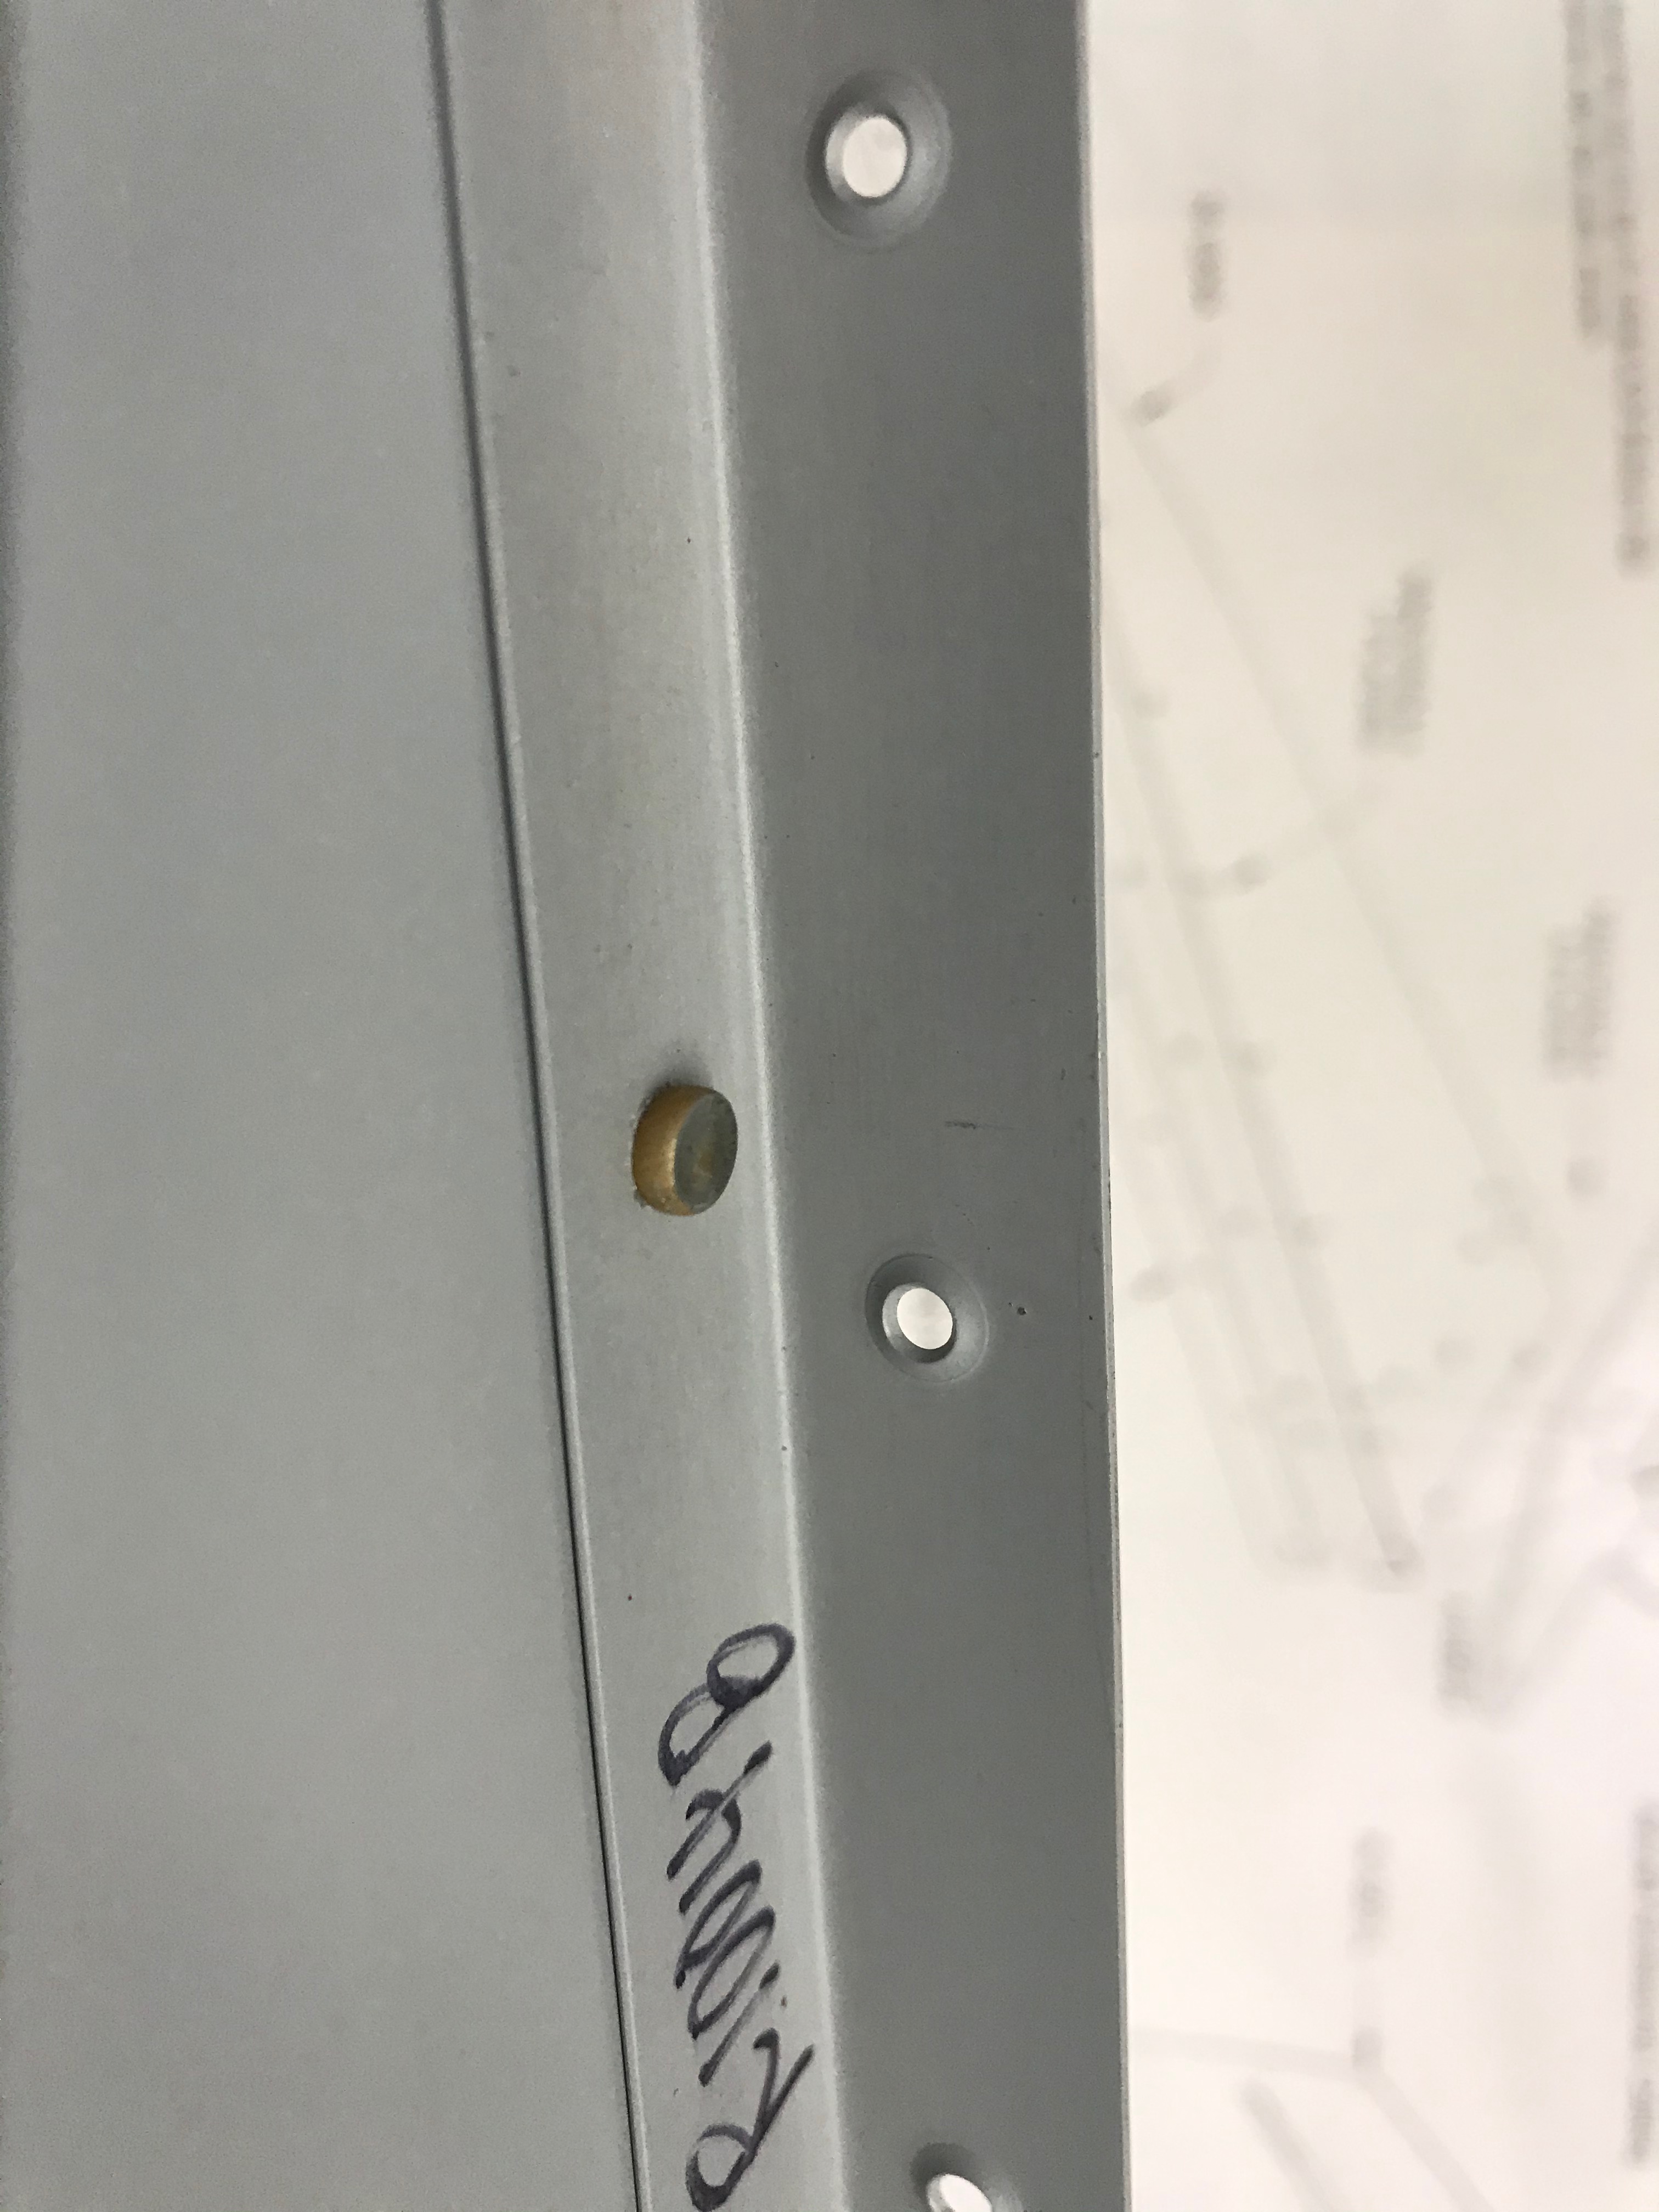
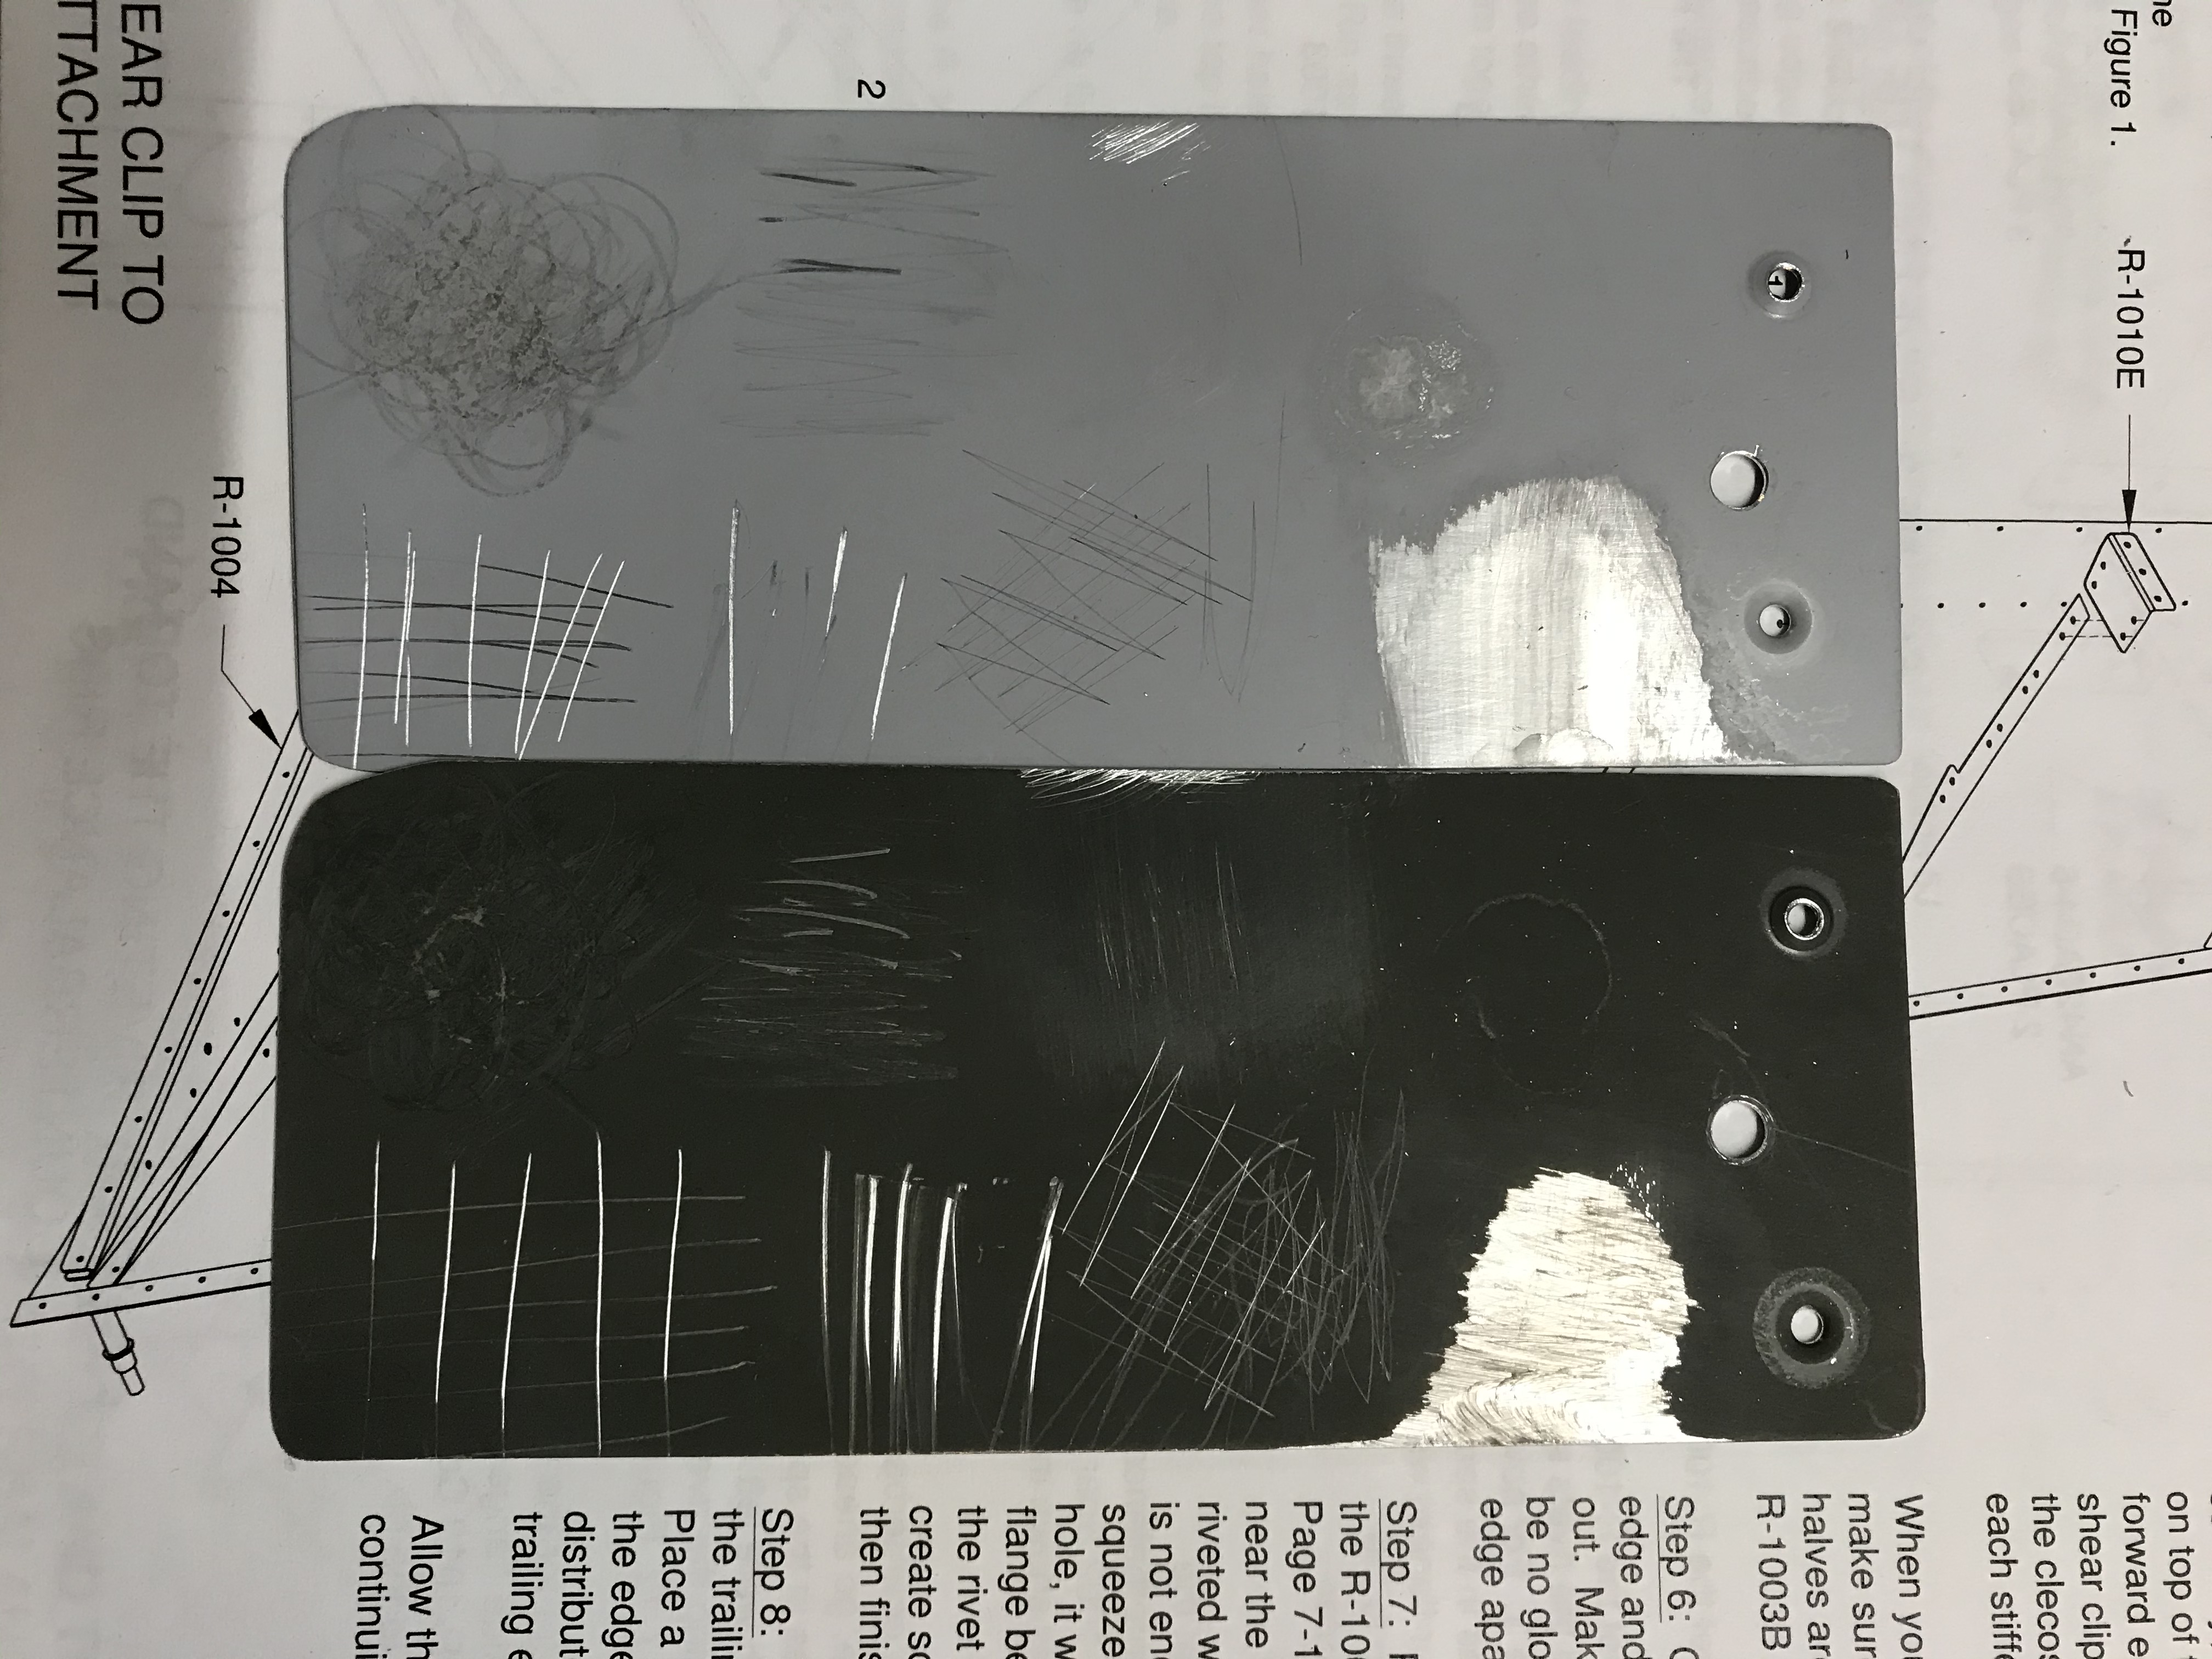
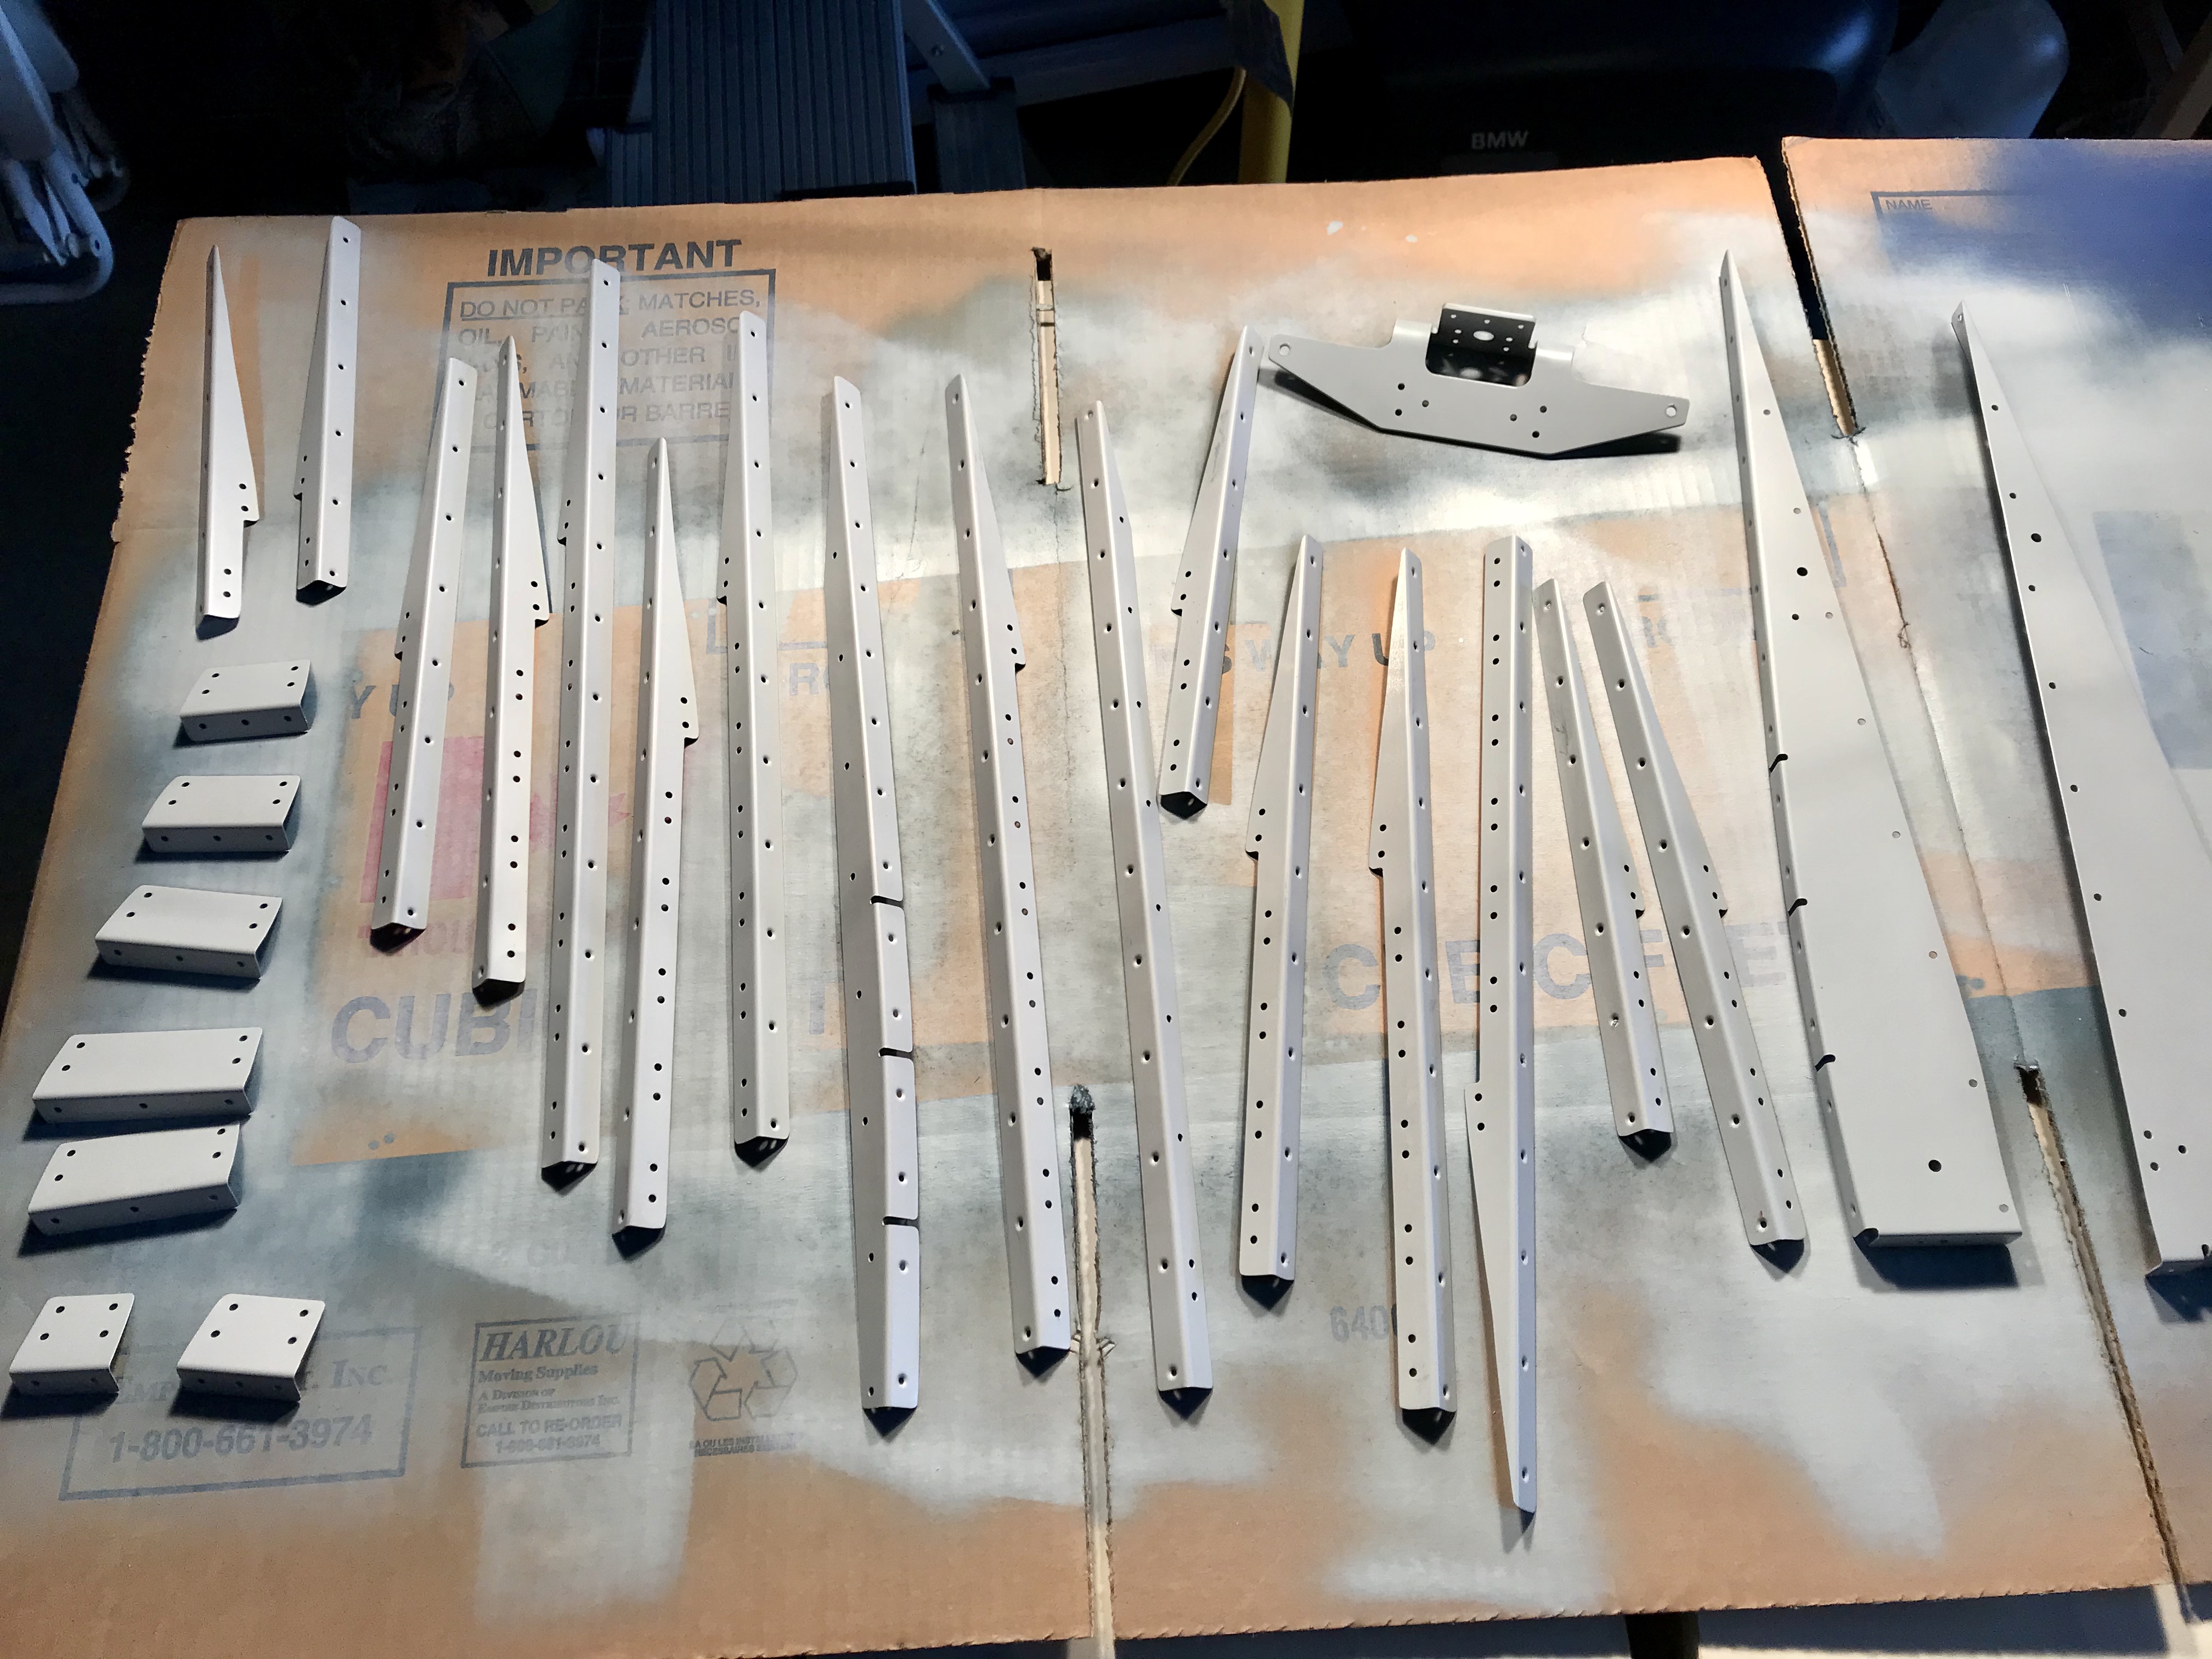
I tested both Rustoleum self-etching primer (dark greyish) as well as SEM self-etching primer (light grey) which is about double the cost. The SEM handles a little better, but they both were very very comparable. I did a couple of test pieces, and had to scratch pretty aggressively to remove primer, in that I’m digging into the surface.
I’m also using halogen work lights to keep the paint area warmish, and a heat gun to dry the parts after spraying and to help it cure faster. They are dry to the touch immediately after using the heat gun (at a low setting, of course).
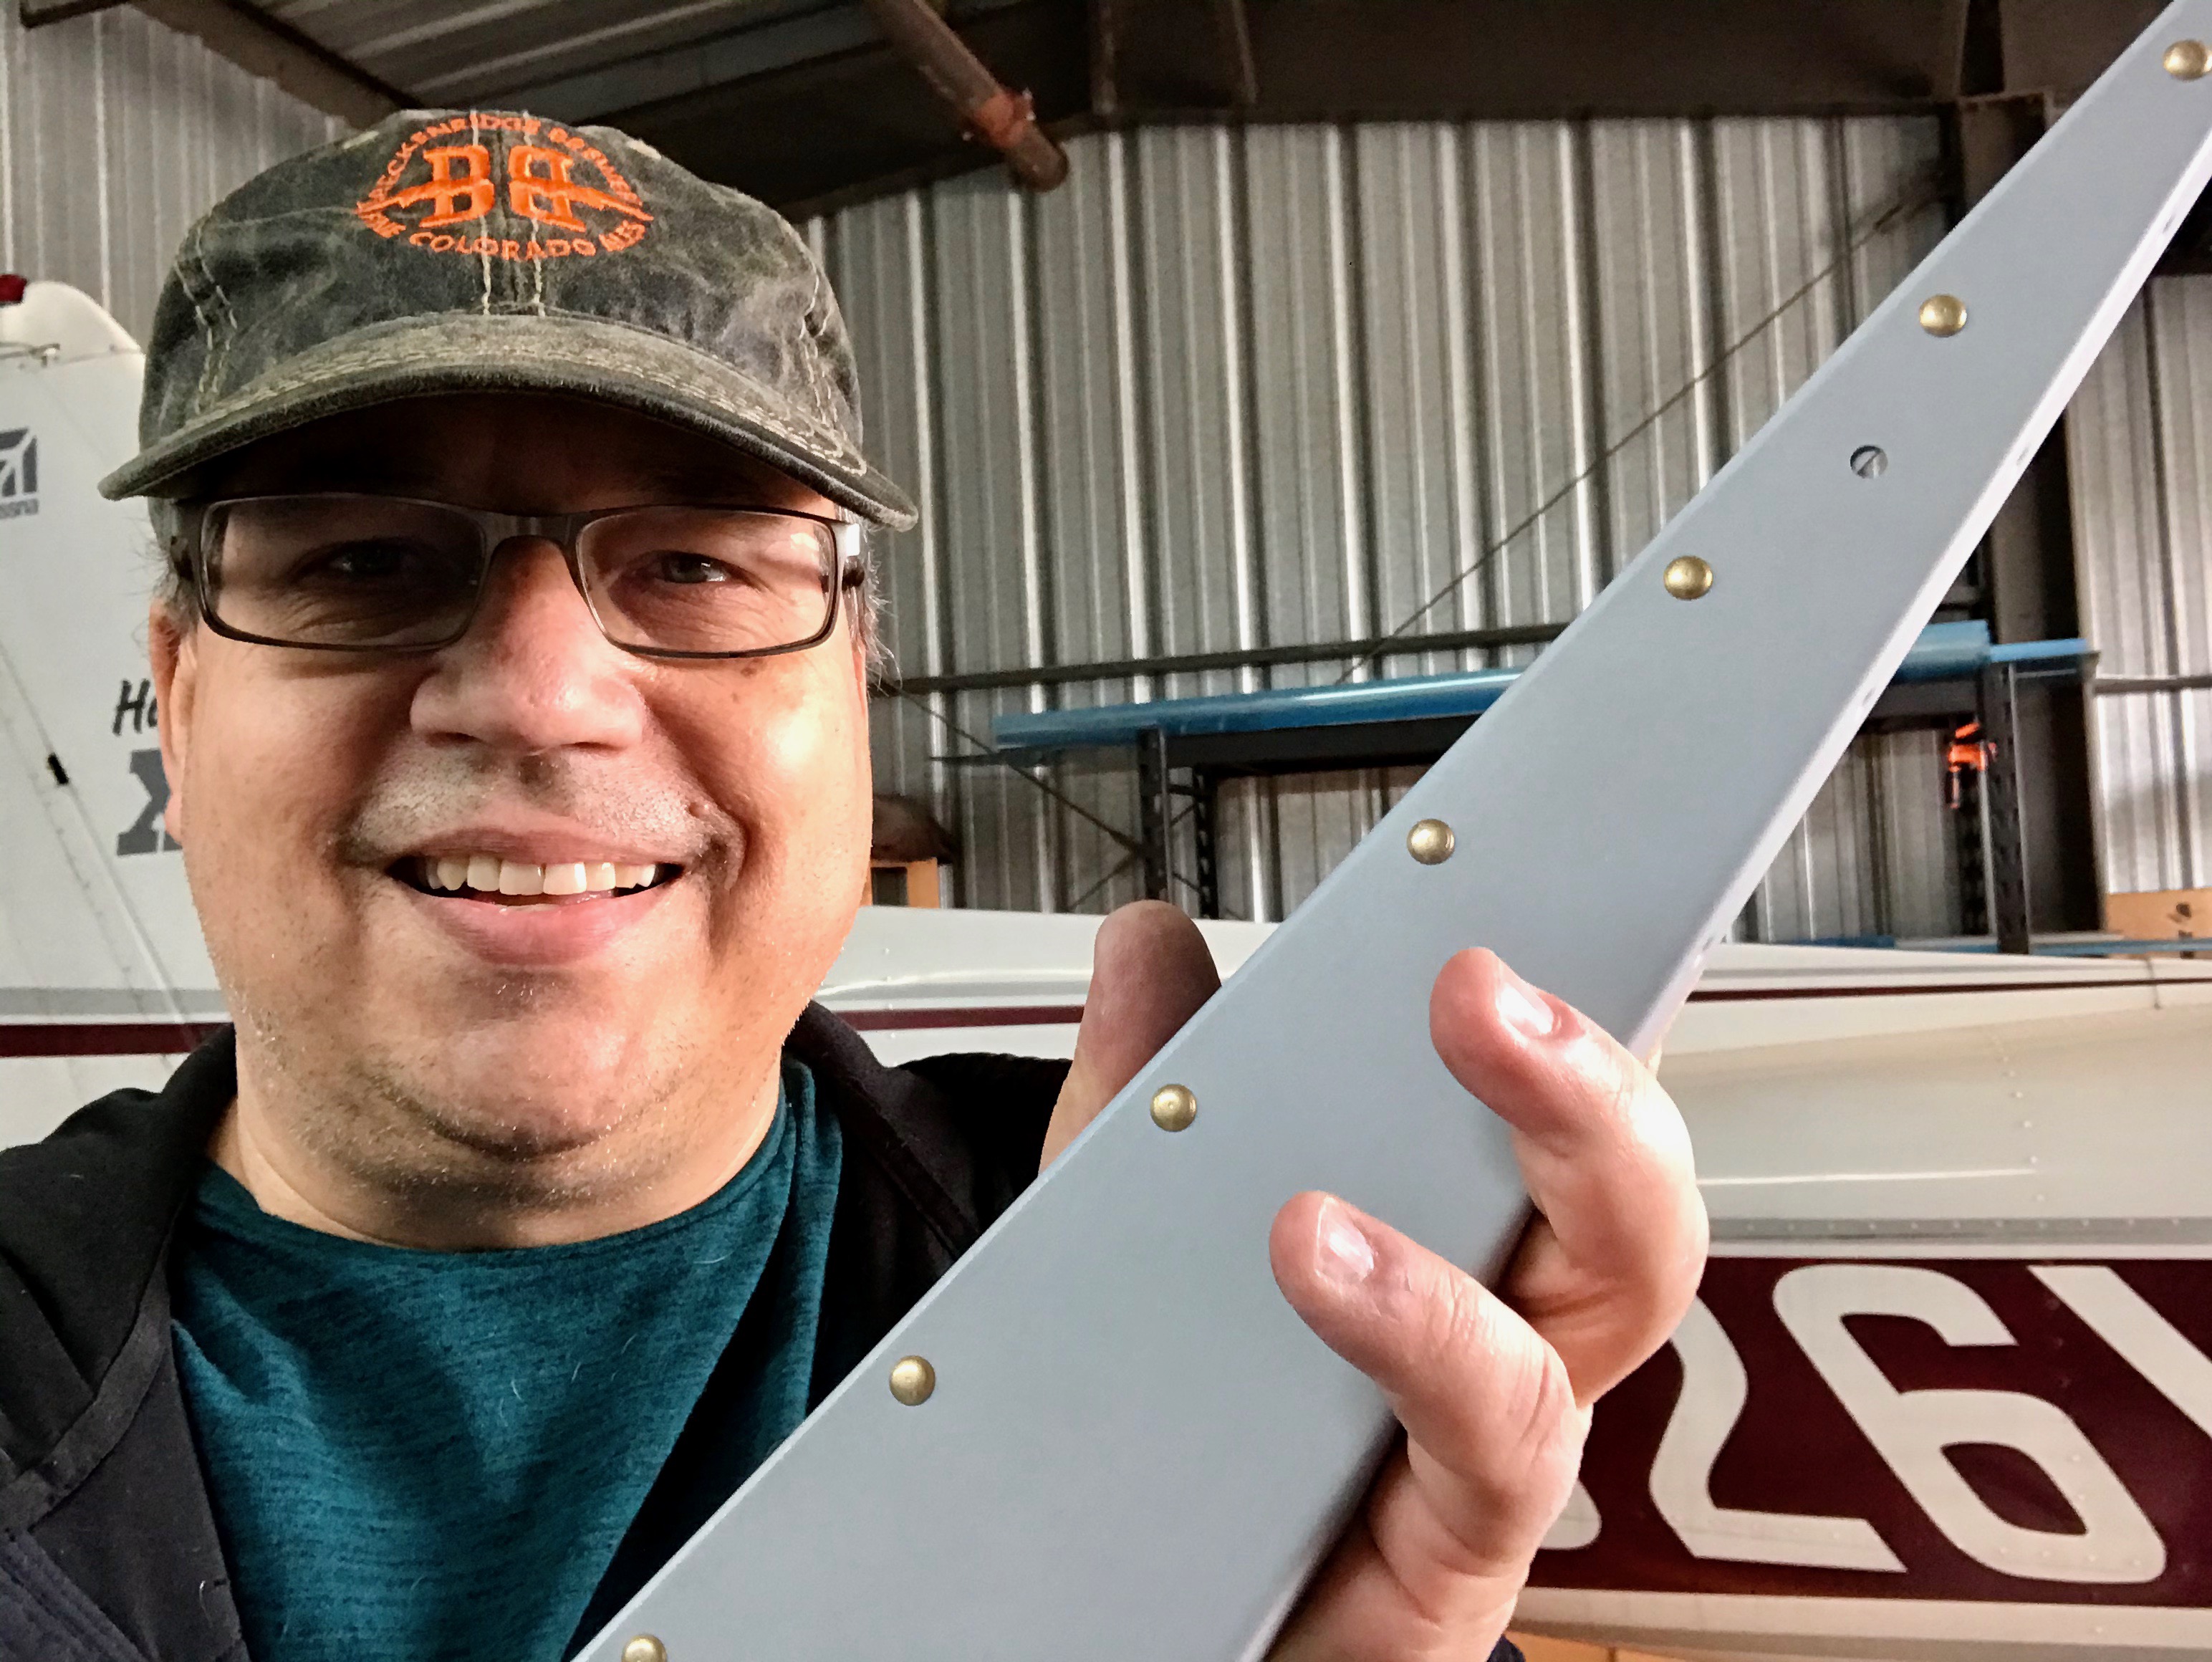
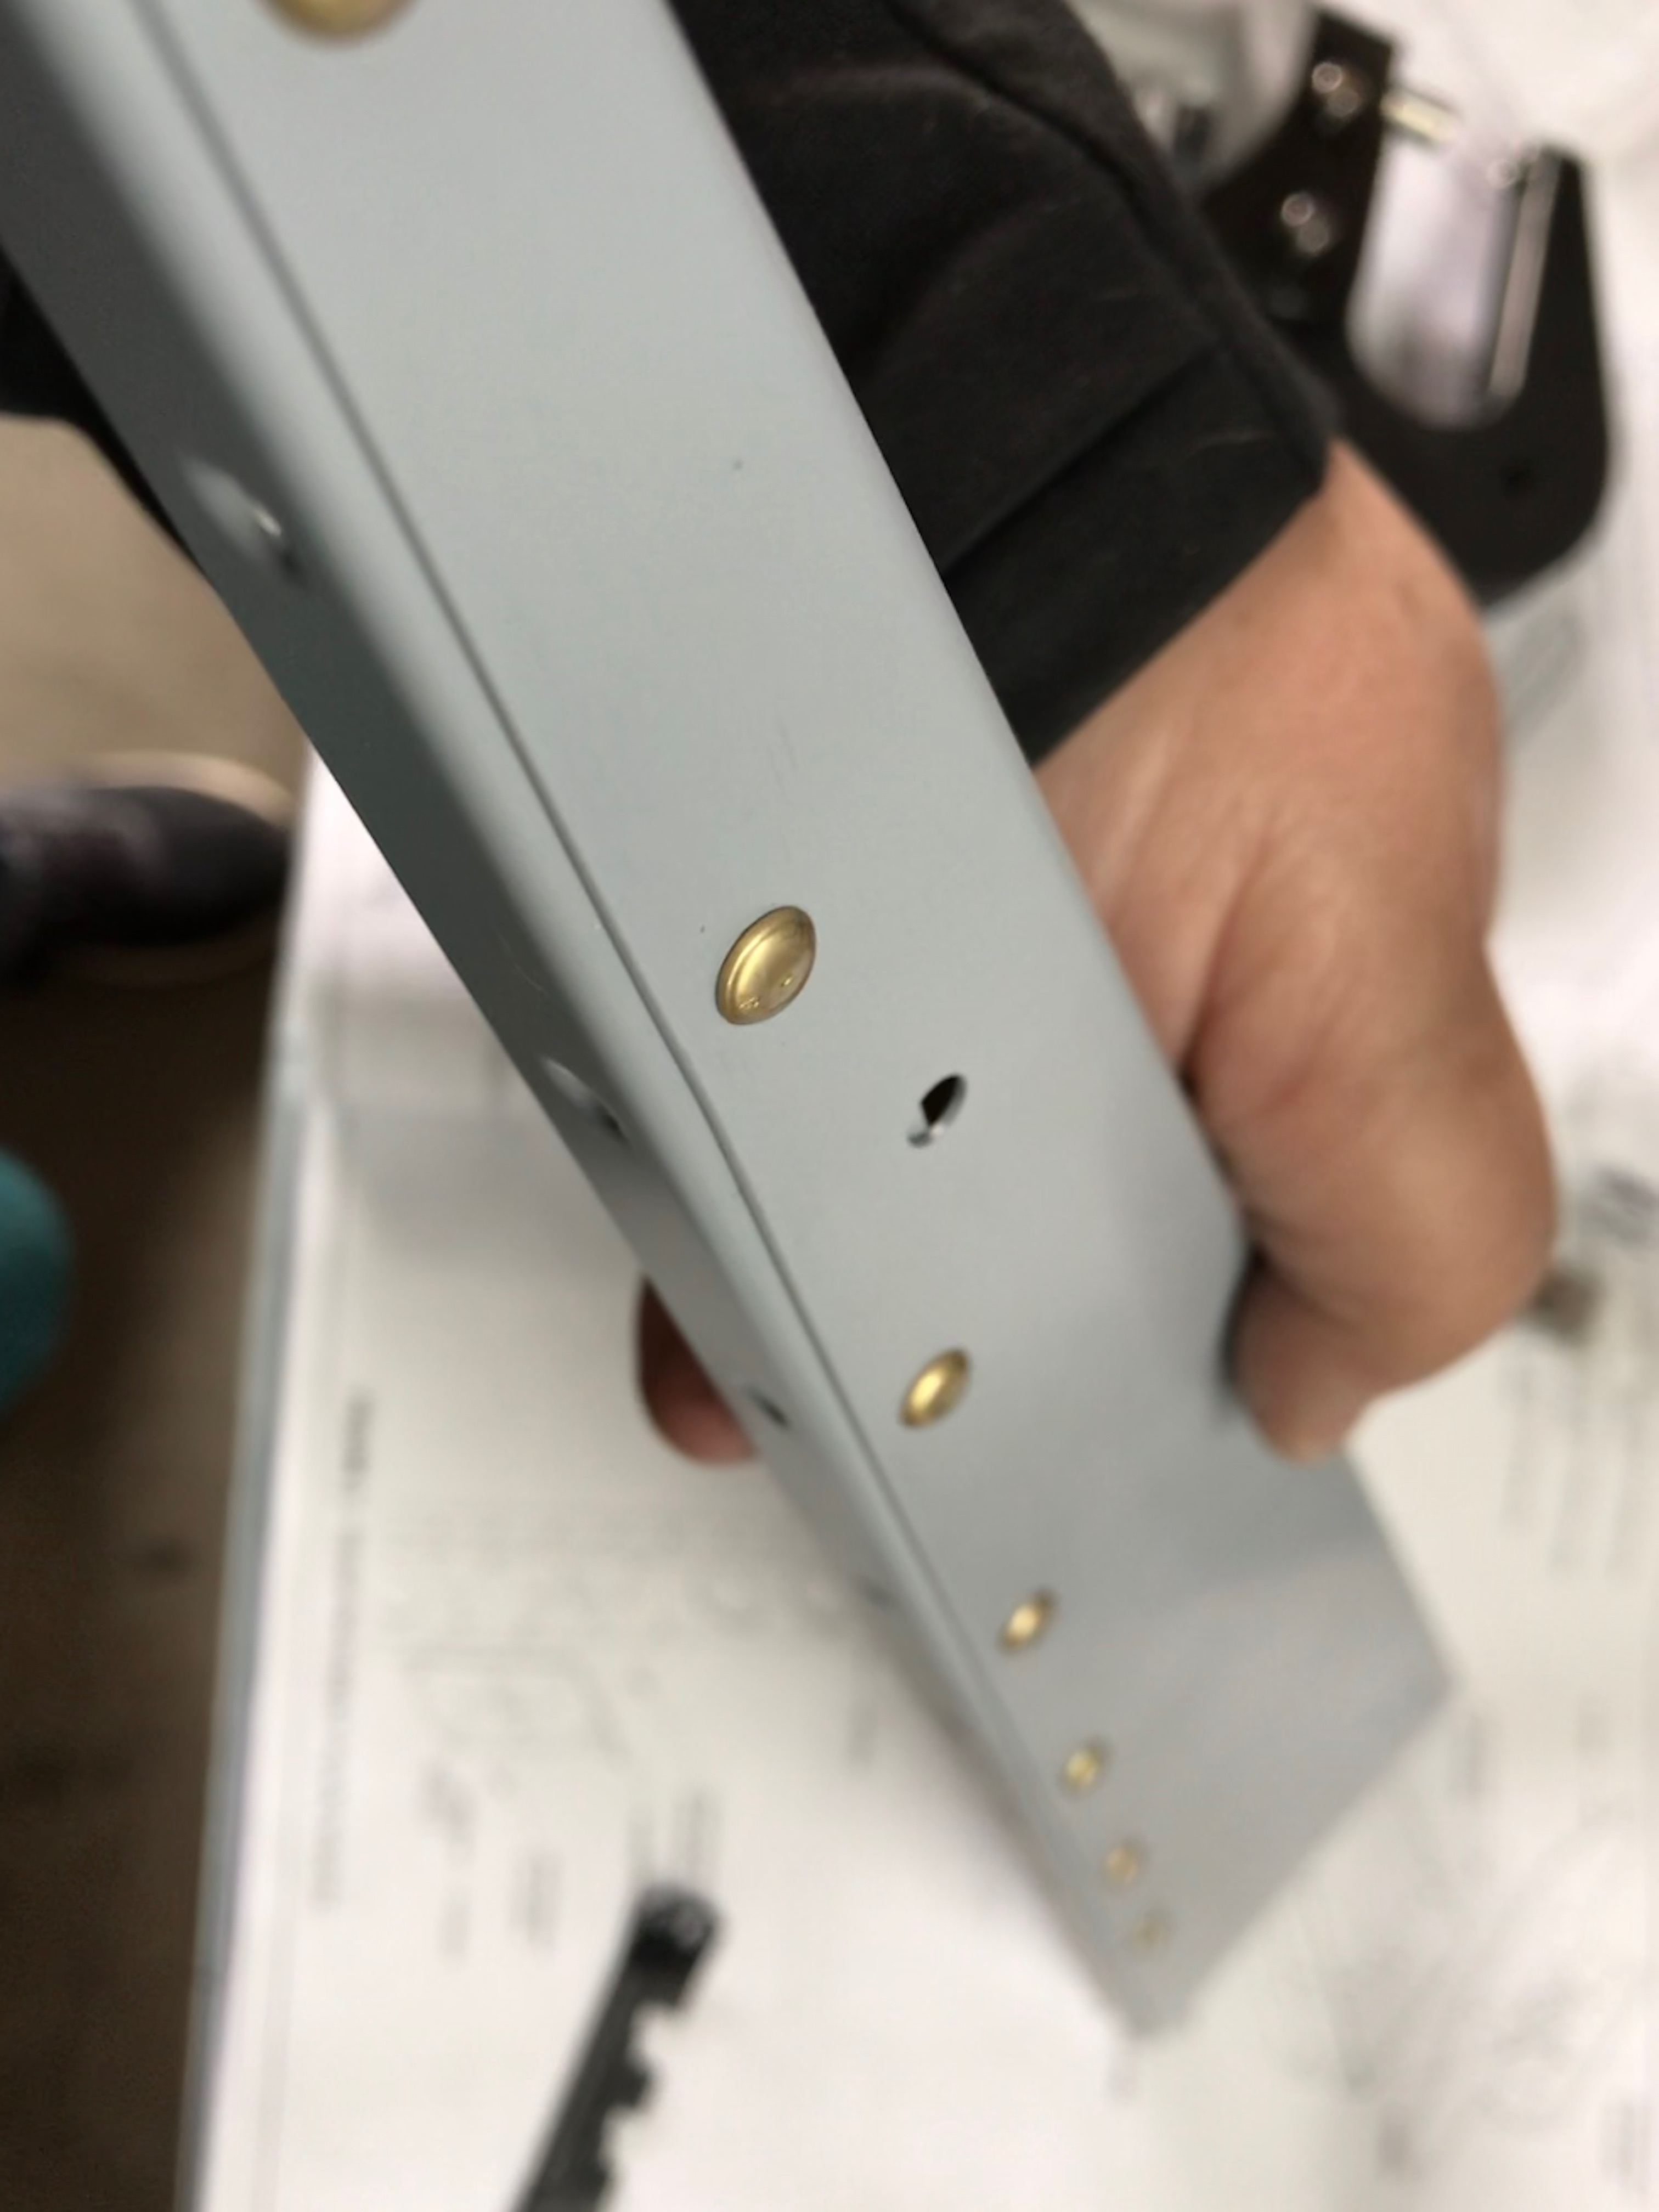
Oh yeah, I also assembled the top and bottom rudder ribs, making this the first time a rivet was driven on an actual airplane part!